
The wind is currently howling against the windowpane; it is the kind of chill that demands more than just a sweater. When the temperature drops, my kitchen becomes a laboratory of heat and fat. There is nothing quite as restorative as the sizzle of protein hitting a hot pan. These winter ground beef recipes are designed to transform a humble pound of meat into a masterpiece of thermal comfort and deep, savory complexity. We are moving beyond basic burgers into the realm of rich ragus and spiced cottage pies.
Ground beef is the ultimate culinary chameleon because of its high surface-area-to-volume ratio. This allows for maximum Maillard reaction coverage, which is the chemical dance between amino acids and reducing sugars that creates that distinctive "browned" flavor profile. In the dead of winter, we crave that specific umami depth. Whether you are folding it into a silky stroganoff or layering it with root vegetables, the goal is to leverage the fat content to carry aromatic compounds directly to your palate. Grab your favorite heavy-bottomed skillet; we are about to turn your kitchen into the warmest room in the house.
The Gathers:
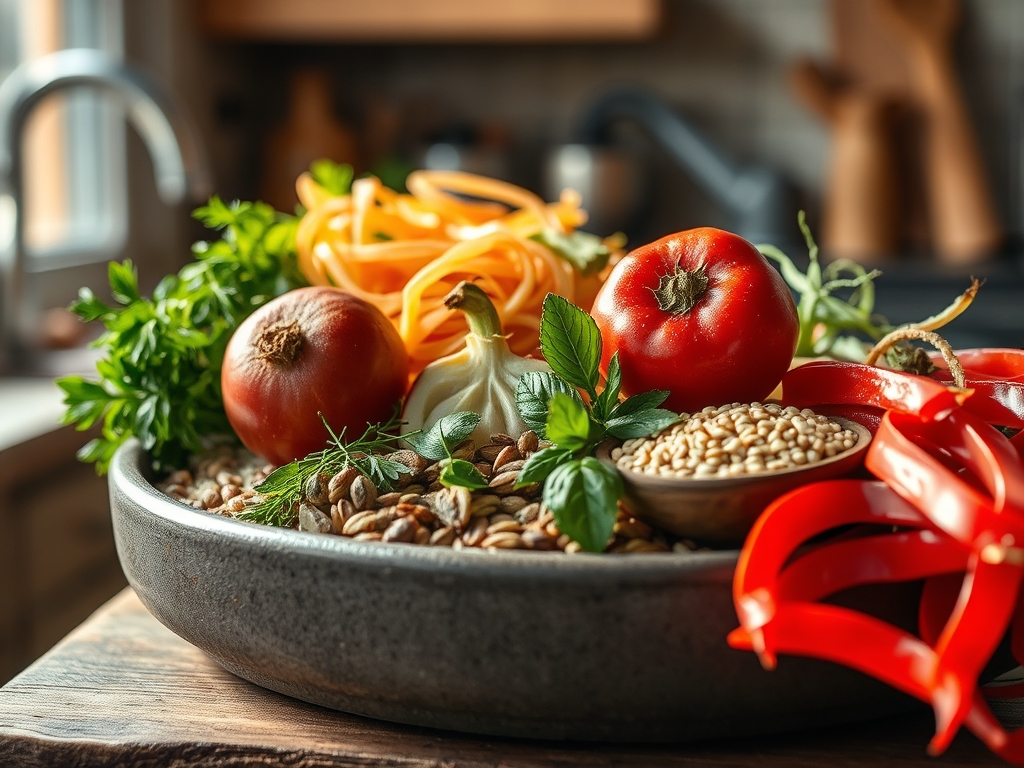
Before we ignite the burners, we must assemble our molecular building blocks. Start with high-quality ground beef; I prefer an 80/20 lean-to-fat ratio for winter cooking. The fat acts as a solvent for fat-soluble vitamins and flavor molecules. You will need a mirepoix of carrots, celery, and onions to provide a structural sweetness. For the liquid components, keep a bottle of dry red wine for deglazing and a high-viscosity beef bone broth on standby.
Your pantry should yield "the enhancers": tomato paste for concentrated glutamates, Worcestershire sauce for a piquant kick, and a variety of woody herbs like rosemary and thyme. Use a microplane to zest fresh garlic or ginger, ensuring the particles are small enough to melt into the sauce. If you are looking for smart substitutions, try swapping half the beef for finely minced cremini mushrooms. This creates a blended burger effect that increases moisture retention while lowering caloric density. If you lack red wine, a splash of balsamic vinegar or apple cider vinegar provides the necessary acidity to cut through the richness of the rendered tallow.
The Clock
Efficiency in the kitchen is all about "Chef's Flow." This is the art of overlapping tasks so that no heat is wasted. For these seven recipes, expect a preparation window of 20 minutes and a total cook time ranging from 30 to 90 minutes. The longer simmers are reserved for dishes like Bolognese or chili, where collagen breakdown is less of a factor than the slow infusion of spices.
Start by dicing your aromatics while the skillet preheats. This is your "active time." Once the beef is browning, you enter "passive time," where the stove does the heavy lifting. Use this gap to clean your station with a bench scraper or to prepare your side dishes. Remember that ground beef reaches peak safety at an internal temperature of 160 degrees Fahrenheit. Using a digital scale to portion your meat ensures even cooking times across the board, preventing the tragedy of one overcooked patty alongside a raw one.
The Masterclass
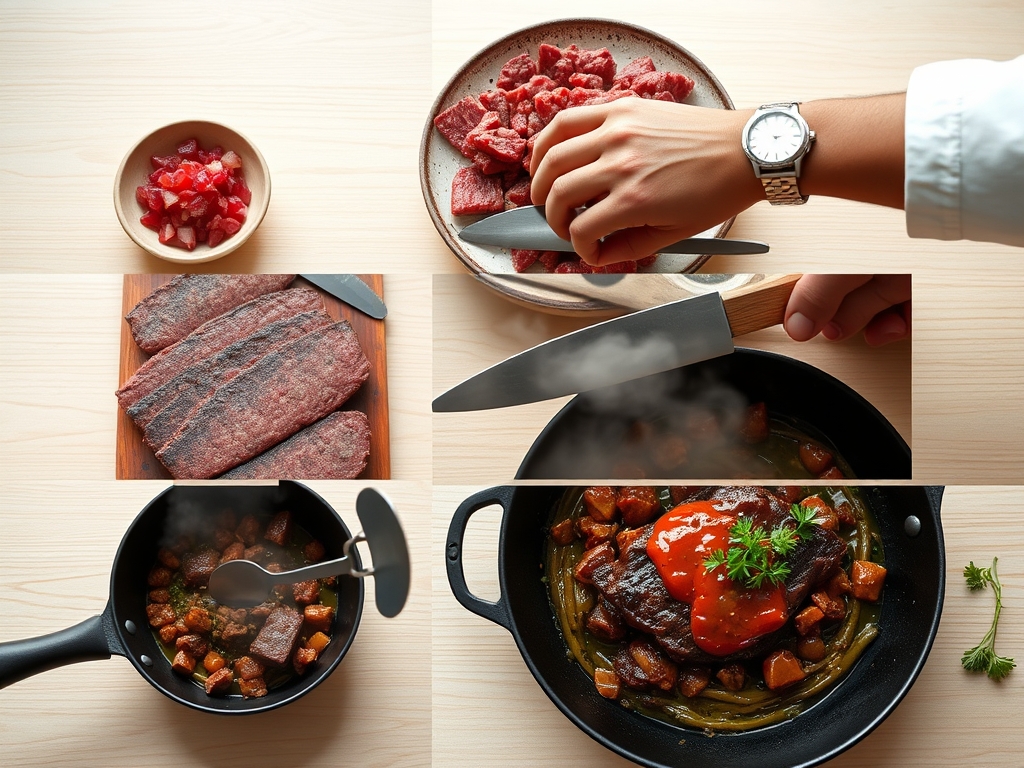
1. The Hard Sear and Render
Place your beef in a cold heavy-bottomed skillet and then turn the heat to medium-high. Do not crowd the pan. As the temperature rises, the fat will begin to render, turning from a solid to a liquid state. Use a stiff wooden spoon to break the meat into uniform small crumbles.
Pro Tip: This is where enzymatic browning occurs. If you move the meat too much, you create steam instead of a sear. Let it sit undisturbed for three minutes to develop a crust; this creates "fond," those delicious brown bits stuck to the pan.
2. Deglazing the Fond
Once the meat is browned and removed, the pan will be coated in concentrated flavor. Pour in your acidic liquid, such as wine or stock. Use your spoon to scrape the bottom of the pan, incorporating those toasted proteins back into the liquid.
Pro Tip: This process is called deglazing. The liquid acts as a solvent, lifting the caramelized compounds and creating a complex base for your sauce. This step is the difference between a flat dish and a professional-grade meal.
3. Emulsifying the Sauce
Add your liquids and fats back together. To ensure a silky mouthfeel rather than a greasy one, you must encourage an emulsion. Stir in a cold pat of butter or a splash of heavy cream at the very end of the cooking process.
Pro Tip: This is known as "mounting with butter" or monter au beurre. The milk solids help to suspend the fat droplets within the water-based sauce, creating a viscous and glossy finish that clings to your pasta or potatoes.
4. Thermal Carryover Management
Remove your dish from the heat when it is just a few degrees shy of your target temperature. Transfer the mixture to a warm serving bowl using tongs or a slotted spoon to control the moisture levels.
Pro Tip: Thermal carryover means the internal temperature will continue to rise by 5 to 10 degrees even after the heat source is removed. Accounting for this prevents the beef from becoming granular and dry.
The Deep Dive
From a nutritional perspective, ground beef is a powerhouse of bioavailable iron, zinc, and Vitamin B12. A standard 4-ounce serving provides roughly 25 grams of protein. If you are following a Keto lifestyle, these recipes are naturally low-carb; just skip the pasta and serve over roasted cauliflower. For my Vegan friends, high-quality plant-based crumbles can be swapped in, though you may need to add a teaspoon of liquid smoke to mimic the depth of beef.
The "Fix-It" section: If your sauce is too thin, do not just keep boiling it. Create a "slurry" of cornstarch and cold water to thicken it instantly. If the dish is too salty, add a peeled potato to the pot for ten minutes; it acts as a sponge for excess sodium. If the flavor feels "flat," it likely needs acid. A squeeze of lemon juice or a teaspoon of vinegar will "wake up" the flavor profile without adding salt.
For meal prep, ground beef is a champion. To maintain "day-one" quality, reheat your portions in a saucier over low heat with a tablespoon of water or stock. This creates a mini-steam chamber that rehydrates the proteins without overcooking them in a microwave.
The Wrap-Up
There you have it; the science of the perfect winter meal is now in your hands. We have mastered the sear, conquered the deglaze, and understood the magic of emulsification. These winter ground beef recipes are more than just fuel; they are a technical achievement that happens to taste like a hug. Now, go put that heavy-bottomed skillet to work and fill your home with the scent of a kitchen that knows exactly what it is doing.
The Kitchen Table
Why does my ground beef turn grey instead of brown?
This happens when the pan is overcrowded or not hot enough. The moisture escapes and steams the meat instead of searing it. Cook in smaller batches and ensure the pan is preheated until the oil shimmers.
Can I freeze these ground beef meals?
Yes, ground beef dishes freeze beautifully because the fats protect the proteins from freezer burn. Store in airtight containers for up to three months. Reheat slowly to maintain the structural integrity of the sauce and the moisture of the meat.
What is the best way to drain excess fat?
Tilt your skillet and use a spoon to pool the fat to one side, then remove it with a bulb baster. Never pour grease down the drain. You can also use a crumpled paper towel held by tongs to absorb it.
How do I make the beef texture less grainy?
Avoid over-mixing the raw meat before it hits the pan. Excessive handling develops the proteins too much, leading to a tough, rubbery texture. Also, ensure you add a splash of liquid or fat during the final simmering stage.