
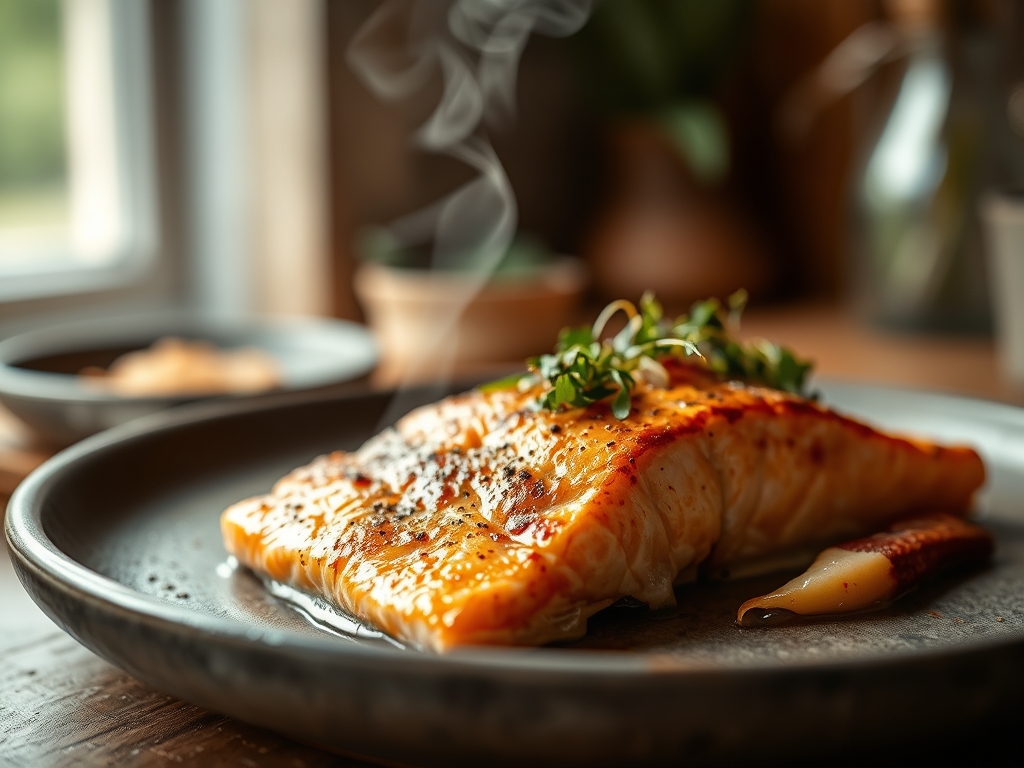
Picture the sizzle of cold protein hitting a heavy-bottomed skillet; it is the sound of a successful week ahead. Mastering salmon recipes meal prep is not just about logistics; it is about respecting the delicate lipid structure of the fish while maximizing flavor through chemistry. We are transforming your Sunday routine into a high-efficiency culinary laboratory for gourmet results.
The secret to salmon that tastes just as vibrant on Thursday as it does on Monday lies in the precision of your initial sear. Most people fear the fish will dry out; however, by understanding the relationship between albumin proteins and thermal conductivity, we can lock in moisture. We are aiming for that perfect, piquant crust that yields to a buttery, translucent center. This guide will dismantle the myth that meal-prepped fish is rubbery or bland. Instead, we are using professional techniques to ensure your fillets remain succulent, whether they are served atop a cold grain bowl or gently rewarmed for a late-night dinner.
The Gathers:
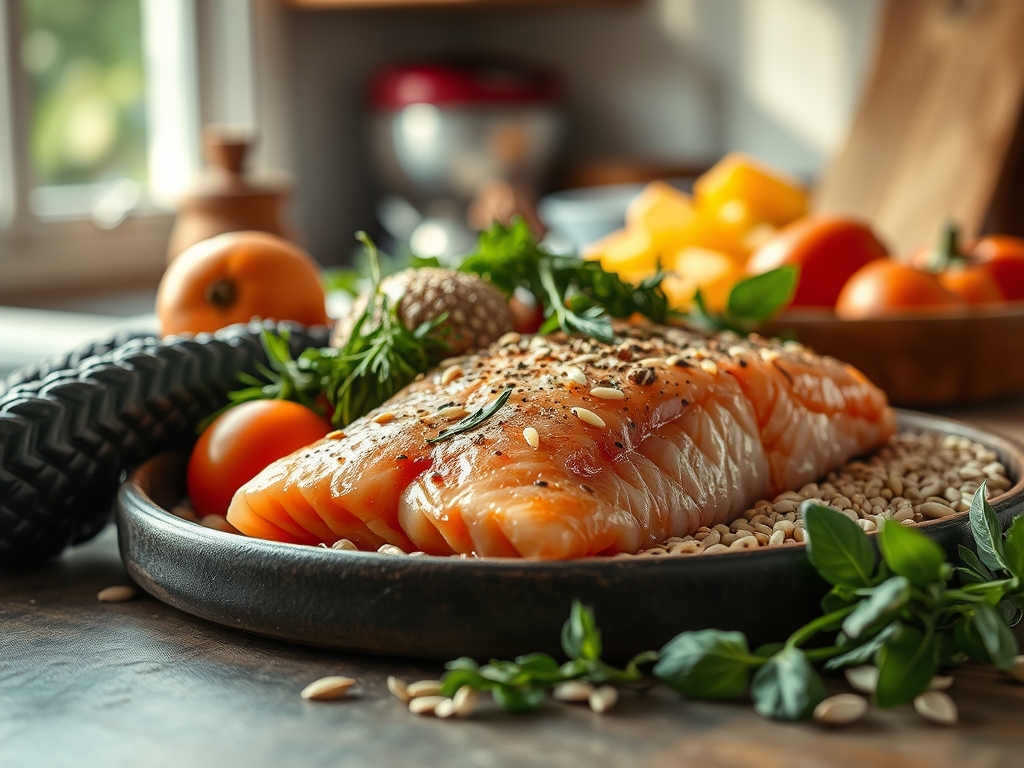
To begin, organize your mise-en-place with the rigor of a Michelin-starred kitchen. You will need high-quality center-cut fillets; look for deep pigmentation which indicates a high astaxanthin content. Gather your aromatics: fresh dill, garlic cloves, and bright citrus. For the fats, use a combination of high-smoke-point avocado oil for the initial sear and grass-fed butter to baste and infuse the flesh during the final stages of cooking.
Smart Substitutions:
If you are avoiding dairy, a viscous coconut aminos or a high-quality tahini can provide that necessary mouthfeel and fat content. For a flavor pivot, swap the lemon for lime and ginger to create a bright, Southeast Asian profile. Always use a digital scale to ensure your portions are uniform; this guarantees that every piece of fish finishes cooking at the exact same moment, preventing the tragedy of uneven textures.
The Clock:
Efficiency in the kitchen is governed by "Chef's Flow," the art of overlapping tasks to eliminate dead time. Your total active prep time should not exceed 20 minutes, with a cook time of approximately 12 to 15 minutes depending on the thickness of your fillets.
Start by preheating your oven and your heavy-bottomed skillet simultaneously. While the metal absorbs heat, use a bench scraper to clear your workstation of vegetable scraps. The goal is to have your sides (like roasted asparagus or quinoa) finishing their thermal cycle just as the salmon enters its crucial resting phase. This synchronization ensures that no component of your meal prep loses its structural integrity while waiting for the others.
The Masterclass:
1. The Surface Preparation
Dry the skin of the fish meticulously using paper towels. Moisture is the enemy of the Maillard reaction; any residual water will create a pocket of steam, preventing the skin from becoming crisp.
Pro Tip: This is known as preventing "evaporative cooling." If the surface is wet, the energy from the pan goes into boiling the water rather than browning the protein. Use a microplane to zest citrus directly onto the flesh for an immediate aromatic lift.
2. The Seasoning Bridge
Apply kosher salt from a height of at least twelve inches to ensure even distribution. Salt acts as a denaturant, breaking down tightly wound proteins to allow for a more tender bite.
Pro Tip: Seasoning early allows the salt to penetrate the muscle fibers via osmosis. This deep seasoning ensures the interior of the fish is as flavorful as the crust, a technique often overlooked in basic salmon recipes meal prep.
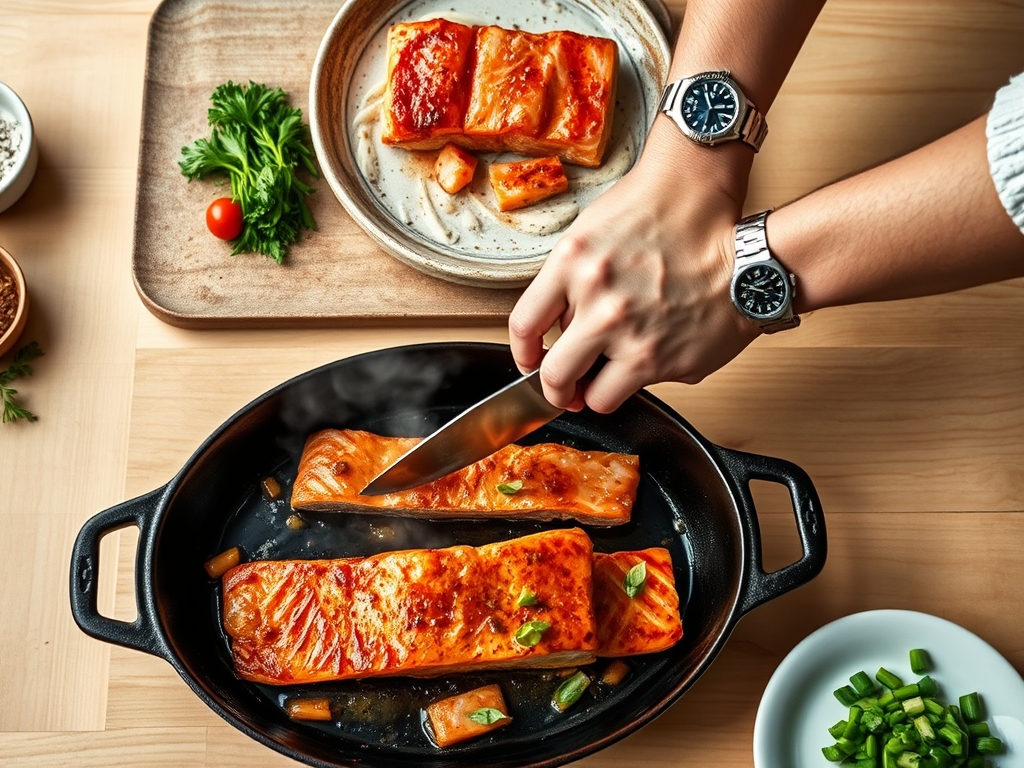
3. The High-Heat Sear
Place the salmon skin-side down into a shimmering, oil-coated pan. Use tongs to press the fillet down firmly for the first thirty seconds. This prevents the skin from curling as the collagen fibers contract.
Pro Tip: This initial contact triggers enzymatic browning. By maintaining firm pressure, you ensure maximum surface area contact, leading to a uniform, golden-brown crust that acts as an insulating barrier for the delicate meat above.
4. The Butter Baste
Once the skin is crisp, flip the fish and add a knob of butter, smashed garlic, and herbs. Use a large spoon to continuously drench the fillets in the foaming fat.
Pro Tip: This is called "Arrosé." The hot fat carries the fat-soluble compounds from the garlic and herbs directly into the fish. The butter also provides a protective coating that prevents oxidation during storage.
5. The Precision Finish
Transfer the pan to a preheated oven or lower the heat to finish. Use a digital thermometer to pull the fish when it reaches 125 degrees Fahrenheit for a medium-rare finish.
Pro Tip: Account for thermal carryover. The internal temperature will continue to rise by 5 to 7 degrees after the fish is removed from the heat. Pulling it early ensures it does not overcook while you are portioning it into containers.
6. The Rapid Chill
For meal prep, you must stop the cooking process quickly. Place the finished fillets on a chilled sheet tray before moving them to the refrigerator.
Pro Tip: Rapid cooling prevents the formation of large ice crystals and minimizes the time the fish spends in the "danger zone" for bacterial growth. This preserves the viscous texture of the healthy fats.
7. The Sauce Emulsification
While the pan is still hot, deglaze it with a splash of white wine or vegetable stock. Whisk in a teaspoon of Dijon mustard to create a stable emulsion.
Pro Tip: Mustard contains lecithin, a natural emulsifier that binds water and oil. This creates a glossy, cohesive sauce that won't break when you reheat it later in the week.
8. The Vacuum Seal or Airtight Storage
Place your cooled portions into glass containers. If you have a vacuum sealer, use it; otherwise, ensure the lid is airtight to prevent "fridge flavors" from permeating the fish.
Pro Tip: Reducing oxygen exposure prevents the oxidation of Omega-3 fatty acids. This keeps the flavor "clean" and prevents that "fishy" aroma that often plagues leftover seafood.
The Deep Dive:
Macro Nutrition: A standard 6-ounce serving of prepared salmon provides roughly 34 grams of high-quality protein and 18 grams of heart-healthy fats. It is a nutrient-dense powerhouse, rich in Vitamin B12 and Selenium.
Dietary Swaps:
- Vegan: Use extra-firm tofu pressed for 30 minutes, then follow the same searing and deglazing steps.
- Keto: Focus on the butter baste and serve with a high-fat avocado crema.
- GF: This recipe is naturally gluten-free; just ensure your Dijon mustard does not contain hidden wheat thickeners.
The Fix-It:
- White Gunk (Albumin): If you see white streaks, the heat was too high. Fix it by lowering the temperature and gently scraping it off; it is harmless but indicates fast-contracting fibers.
- Soggy Skin: This happens if you crowd the pan. Fix it by giving each fillet at least two inches of space to allow steam to escape.
- Dry Texture: If overcooked, flake the salmon and mix it with a dollop of Greek yogurt or mayo to reintroduce moisture.
Reheating Science: To maintain "day-one" quality, avoid the microwave. Instead, use a "low and slow" approach in a toaster oven at 275 degrees Fahrenheit with a teaspoon of water added to the container to create a gentle steam environment.
The Wrap-Up:
You are now armed with the molecular secrets to the ultimate salmon recipes meal prep. By focusing on surface moisture, thermal carryover, and proper emulsification, you have elevated a simple weeknight task into a culinary triumph. Your future self will thank you when you pull out a perfectly textured, chef-quality meal on a hectic Wednesday night. Go forth and sear with confidence!
The Kitchen Table:
How long does meal-prepped salmon stay fresh?
When stored in an airtight glass container at or below 40 degrees Fahrenheit, cooked salmon remains optimal for three days. For the best sensory experience, consume your portions within 72 hours of initial preparation to ensure peak texture.
Can I freeze cooked salmon for meal prep?
Yes, though the texture may soften slightly. To minimize damage, wrap each fillet tightly in plastic wrap before placing it in a freezer bag. Thaw slowly in the refrigerator overnight before reheating gently to preserve the delicate protein structure.
What is the best way to prevent a fishy smell?
The "fishy" odor comes from the oxidation of fats. Ensure your fish is incredibly fresh when purchased and store it in airtight containers. Adding an acidic component like lemon juice before storage also helps neutralize trimethylamine, the compound responsible for the scent.
Should I keep the skin on for meal prep?
Absolutely. The skin acts as a natural moisture barrier during the cooking process and provides a structural base for the fillet. Even if you do not plan to eat the skin, leaving it on during reheating helps prevent the flesh from drying out.