
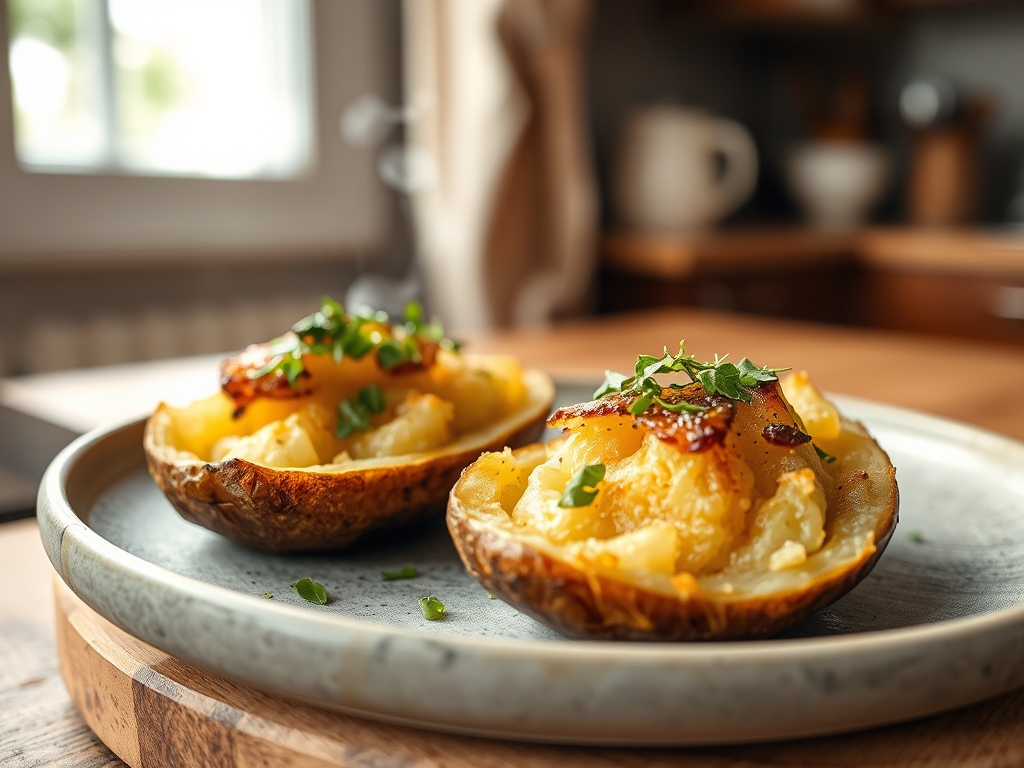
Close your eyes and listen to the sound of a knife piercing a perfectly crisp potato skin; it is a sharp, satisfying crackle that promises a fluffy, cloud-like interior. Mastering easy oven baked potato recipes is not just about dinner; it is about understanding the delicate balance between starch gelatinization and the Maillard reaction to achieve textural perfection every single time.
The Gathers:
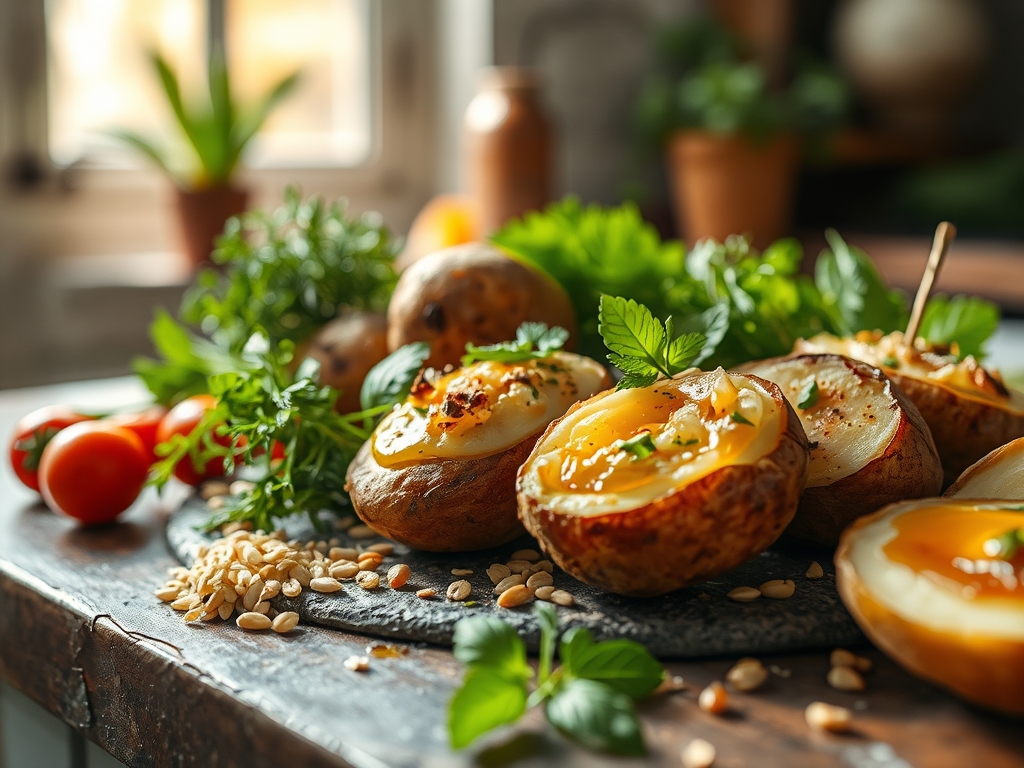
To begin, we must curate our mise-en-place with surgical precision. For the ultimate bake, select Russet potatoes for their high starch content and low moisture; this allows the internal water to evaporate, creating that signature mealy texture. You will need high-smoke-point fats like avocado oil or rendered duck fat to ensure the skins crisp without scorching.
The Essential Tool Kit:
- A digital scale for uniform sizing (aim for 250g per tuber).
- A microplane for zesting aromatics.
- A heavy-bottomed skillet or a wire rack set over a rimmed baking sheet.
- Flaky sea salt for osmotic drawing of surface moisture.
Smart Substitutions:
If you are avoiding nightshades, Japanese sweet potatoes offer a dense, creamy alternative. Instead of sour cream, use a viscous Greek yogurt infused with lemon zest to provide a piquant acidity that cuts through the earthy starch.
The Clock:
Efficiency in the kitchen relies on "Chef's Flow." Total active prep time is exactly twelve minutes; the rest is a dance of thermal physics. Expect a 45 to 60-minute bake time at 425 degrees Fahrenheit. While the potatoes undergo their transformation, use the "dead time" to aerate your herb garnishes or prepare a compound butter in a small saucier. This ensures that the moment the potatoes exit the heat, you are ready to serve before the internal steam collapses the cell structure.
The Masterclass:
1. The Osmotic Scrub
Scrub your tubers under cold water and pat them bone-dry with a lint-free towel. Moisture is the enemy of a crisp exterior. Use a fork to prick the skin six to eight times; this creates escape vents for internal steam.
Pro Tip: Pricking the skin prevents the build-up of internal pressure. Without these vents, the expanding steam can cause the potato to burst, a phenomenon caused by rapid vapor pressure accumulation within the starch matrix.
2. The Lipid Coating
Massage each potato with your chosen oil and a generous coating of salt. Do not use foil. Wrapping a potato in foil traps moisture, essentially steaming the vegetable rather than roasting it, which results in a wet, soggy skin.
Pro Tip: Salt acts as a desiccant. It draws moisture out of the peel, allowing the surface to reach temperatures above 212 degrees Fahrenheit, which is necessary to trigger the Maillard reaction for deep flavor development.
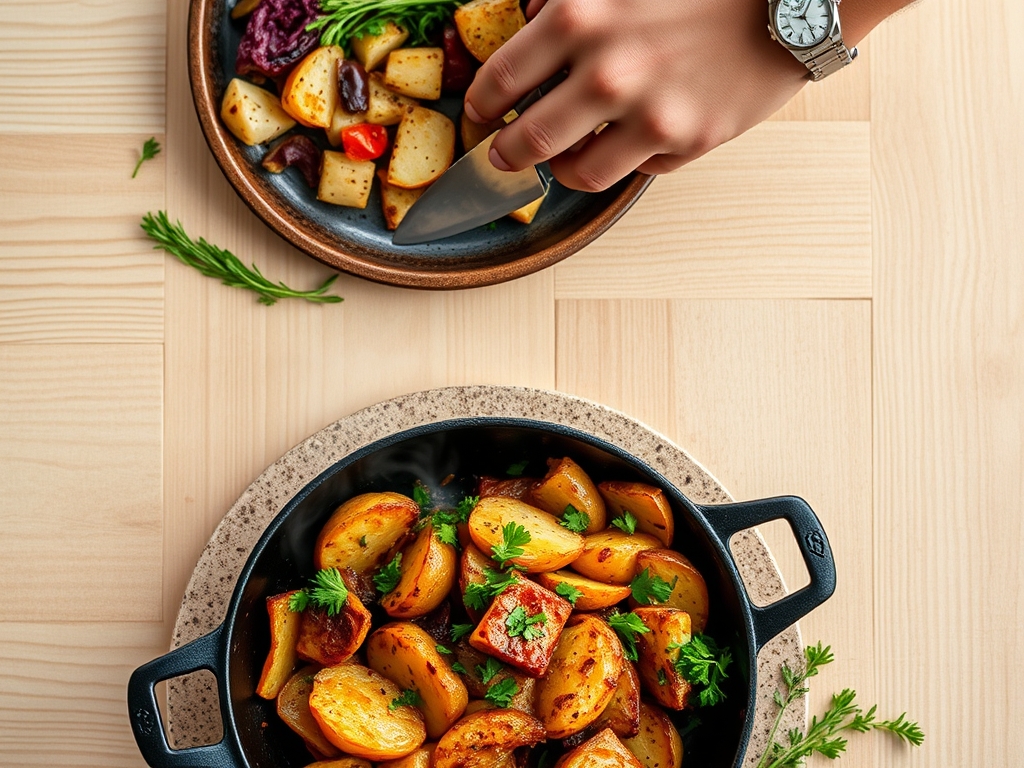
3. The Elevated Roast
Place the potatoes directly on the oven rack or a wire rack. This allows for 360-degree convection, ensuring the bottom does not become flat or leathery from direct contact with a hot pan.
Pro Tip: Elevating the potato maximizes convective heat transfer. When air flows freely around the entire surface, the skin dehydrates uniformly, creating a structural "shell" that supports the soft interior.
4. The Internal Check
Use an instant-read thermometer to check for a core temperature of 205 to 210 degrees Fahrenheit. This is the "sweet spot" where the starches have fully hydrated and the cell walls have softened.
Pro Tip: Reaching 205 degrees ensures that the amylopectin and amylose chains have broken down sufficiently. If you pull them too early, the center will remain waxy and dense rather than light and fluffy.
5. The Cross-Cut Release
As soon as you remove them, use a sharp paring knife to cut a cross into the top. Use a clean kitchen towel to "squeeze" the sides, popping the snowy white interior upward.
Pro Tip: This immediate release of steam prevents the residual moisture from re-condensing into the starch. This is known as preventing retrogradation, which would otherwise turn your fluffy potato gummy as it cools.
6. The Compound Infusion
While the potato is piping hot, drop in a pat of cold, high-fat butter. Use a fork to gently fluff the interior, incorporating the fat without overworking the starch.
Pro Tip: Fat coats the starch granules, preventing them from sticking together. This creates a silky emulsion on the palate, enhancing the mouthfeel of the dish.
7. The Piquant Garnish
Add your cold toppings last. Chives should be sliced with a sharp knife to avoid bruising the delicate cell walls, which releases a bitter sulfur aroma.
Pro Tip: Using a sharp blade prevents the release of allinase enzymes that cause chives to taste "oniony" and harsh rather than fresh and bright.
8. The Texture Contrast
For a "hack" that adds crunch, sprinkle toasted breadcrumbs or fried shallots over the top just before serving.
Pro Tip: This adds a secondary layer of sensory contrast. The brain finds the combination of soft, creamy, and crunchy textures highly palatable, a concept known as dynamic contrast.
9. The Acid Balance
Finish with a tiny squeeze of lemon or a dash of vinegar-based hot sauce.
Pro Tip: Acid acts as a flavor brightener. It interacts with the taste buds to suppress bitterness and enhance the perception of salt, making the earthy potato flavors "pop."
10. The Carryover Rest
If you aren't eating immediately, keep them in a warm spot but do not cover them.
Pro Tip: Even out of the oven, thermal carryover continues to cook the center for a few minutes. Covering them will trap steam and ruin the crisp skin you worked so hard to achieve.
The Deep Dive:
Macro Nutrition: A medium potato is a nutritional powerhouse, providing roughly 160 calories, 4 grams of protein, and more potassium than a banana. It is naturally fat-free and gluten-free, making it a perfect canvas for various diets.
Dietary Swaps:
- Keto: Swap the potato for a roasted head of cauliflower.
- Vegan: Use nutritional yeast and avocado oil for a "cheesy" profile.
- GF: Naturally safe, but ensure your toppings (like bacon bits) are certified.
The Fix-It:
- Soggy Skin: Your oven temperature was too low or you used foil. Fix it by blasting the potato at 450 degrees for the last five minutes.
- Hard Center: The potato was too large for the cook time. Fix it by slicing it in half and finishing it face-down in a heavy-bottomed skillet.
- Overly Salty: Brush off excess salt and add a dollop of unsalted fat like creme fraiche to dilute the sodium perception.
Meal Prep: To reheat, avoid the microwave. Use an air fryer or oven at 350 degrees to re-crisp the skin. Microwaving vibrates water molecules, which turns the starch into a rubbery mess.
The Wrap-Up:
You are now armed with the molecular secrets to the world's best easy oven baked potato recipes. From managing vapor pressure to mastering the Maillard reaction, your dinner game has officially leveled up. Grab your tongs, fire up that oven, and turn a humble root vegetable into a culinary masterpiece that would make any professional chef proud.
The Kitchen Table:
How do I get the skin extra crispy?
Avoid aluminum foil at all costs. Coat the skin in a high-smoke-point oil and plenty of sea salt, then bake directly on the oven rack. This allows hot air to dehydrate the skin, creating a shatteringly crisp texture through convection.
Why is my baked potato gummy?
Gumminess occurs when you do not vent the steam immediately after baking. Always cut the potato open the second it leaves the oven; this prevents the internal moisture from turning the fluffy starches into a dense, glue-like consistency.
What is the best temperature for baking potatoes?
Aim for 425 degrees Fahrenheit. This high heat is the threshold required to trigger the Maillard reaction on the skin while simultaneously ensuring the internal temperature reaches the 205-degree mark for a perfectly mealy, non-waxy interior.
Should I soak potatoes before baking?
For whole baked potatoes, soaking is unnecessary and can actually hinder the drying process needed for crisp skin. Simply scrub, dry thoroughly with a towel, and prick with a fork to allow for optimal steam escape during the roasting process.