
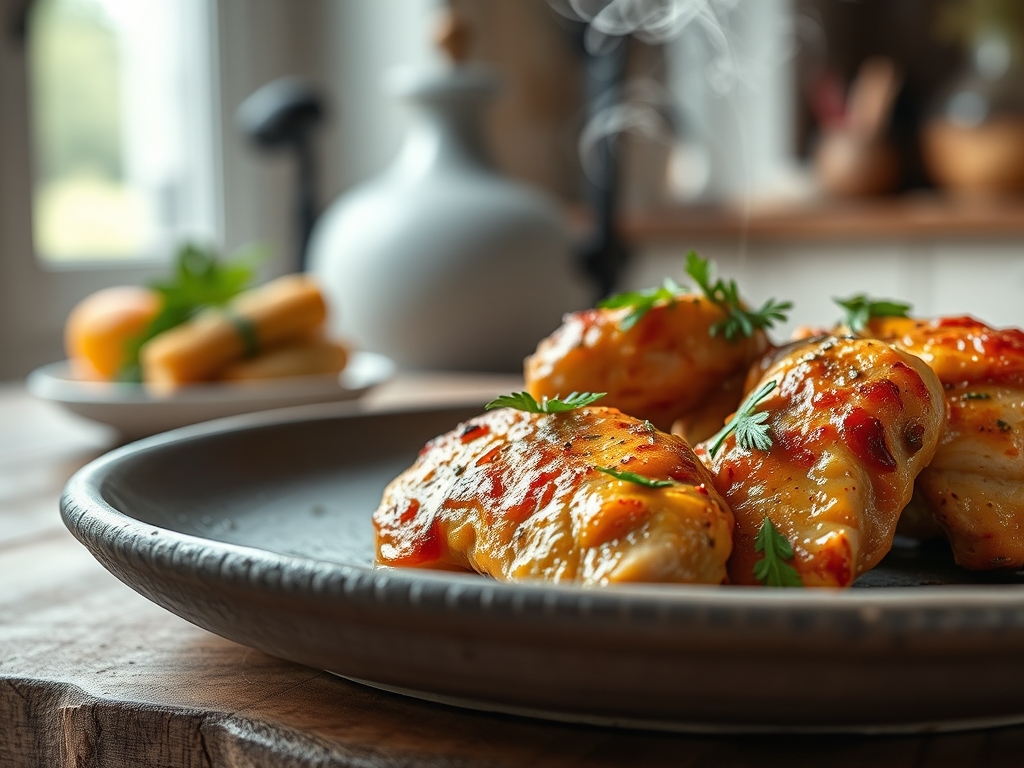
Picture this. You are standing in a humid, bustling church basement. The air is thick with the scent of toasted flour and rendered fat; it is a heavy, golden perfume that promises a crunch loud enough to wake the back pew. We are talking about the holy grail of comfort food. Finding authentic church chicken recipes that replicate that specific, glass-shattering crust and succulent interior is usually a guarded secret passed down through generations of grandmothers. But today, I am your culinary confidante. I am peeling back the foil on those heavy-duty catering pans to show you the molecular magic behind the bird. We are going to master the art of the dredge, the science of the soak, and the physics of the fry. This is not just dinner; it is a spiritual experience delivered through a heavy-bottomed skillet.
The Gathers:
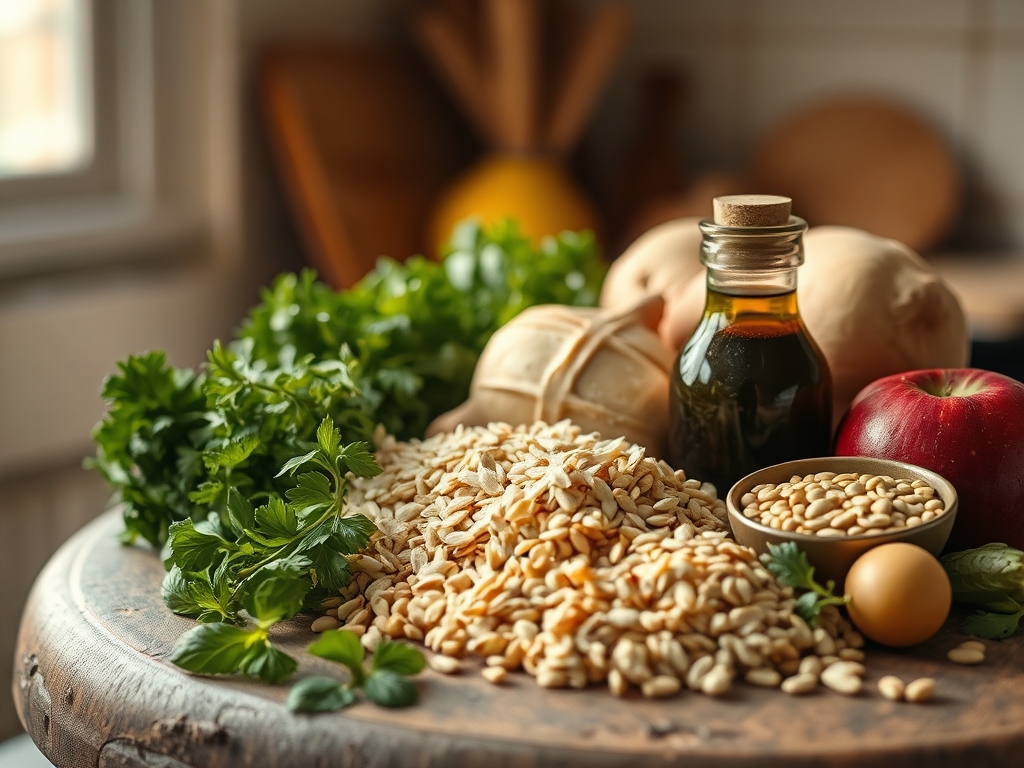
To achieve that iconic flavor profile, your mise-en-place must be precise. Start with a five-pound bird, broken down into eight standard pieces. You will need a high-protein flour, specifically an all-purpose variety with at least 11 percent protein, to ensure the structural integrity of the crust. For the wet component, we use a viscous blend of full-fat buttermilk and hot sauce. The lactic acid in the buttermilk acts as a gentle tenderizer, breaking down tough protein strands without turning the meat into mush.
Your spice cabinet is your best friend here. You need piquant cayenne, toasted garlic powder, onion powder, and a generous amount of fine-sea salt. Do not use coarse kosher salt for the dredge; fine grains distribute more evenly across the surface area of the flour. Use a microplane to zest a hint of lemon into your brine for a hidden brightness that cuts through the lipid-heavy profile.
Smart Substitutions: If you are out of buttermilk, you can create an acidified milk substitute by whisking one tablespoon of lemon juice into a cup of whole milk; let it sit until it thickens. For a gluten-free alternative, a blend of white rice flour and cornstarch provides a superior "shatter" texture that mimics traditional wheat flour. If you want to lower the saturated fat, avocado oil is an excellent substitute for peanut oil because it maintains a high smoke point of 520 degrees Fahrenheit.
The Clock:
Mastering the "Chef's Flow" is about managing thermal energy and time. Your total active prep time is 30 minutes, but the passive time is where the magic happens.
- The Brine (2 to 12 hours): This is non-negotiable. Overnight is best to allow the salt to penetrate the deep muscle tissue via osmosis.
- The Temper (30 minutes): Never drop ice-cold chicken into hot oil. Let the meat sit on a wire rack to reach room temperature. This prevents the oil temperature from crashing.
- The Fry (12 to 15 minutes): Dark meat takes longer than white meat. Work in batches to avoid overcrowding the vessel.
- The Rest (10 minutes): Essential for moisture redistribution.
The Masterclass:
1. The Acidic Brine Soak
Submerge your chicken pieces in the buttermilk and spice mixture. Ensure every crevice is coated. This creates a chemical "glue" for your flour.
Pro Tip: This stage utilizes proteolytic enzymes found in dairy to denature the exterior proteins. This ensures that even the breast meat remains hydrated during the high-heat frying process.
2. The Double-Dredge Aeration
Whisk your flour and spices in a large stainless steel bowl. Dip the chicken from the brine into the flour, back into the brine, and once more into the flour. Use a bench scraper to clear excess flour from your workstation to keep the process clean.
Pro Tip: Press the flour firmly into the meat. This creates "nooks and crannies" which increase the surface area. More surface area equals more Maillard reaction sites, resulting in a crunchier exterior.
3. The Oil Calibration
Fill your heavy-bottomed skillet or Dutch oven with peanut oil. Use a digital thermometer to bring the oil to exactly 350 degrees Fahrenheit.
Pro Tip: Maintaining a consistent temperature is vital. If the oil is too cool, the crust will absorb excess fat through capillary action, making it greasy. If it is too hot, the exterior will char before the interior reaches safety.
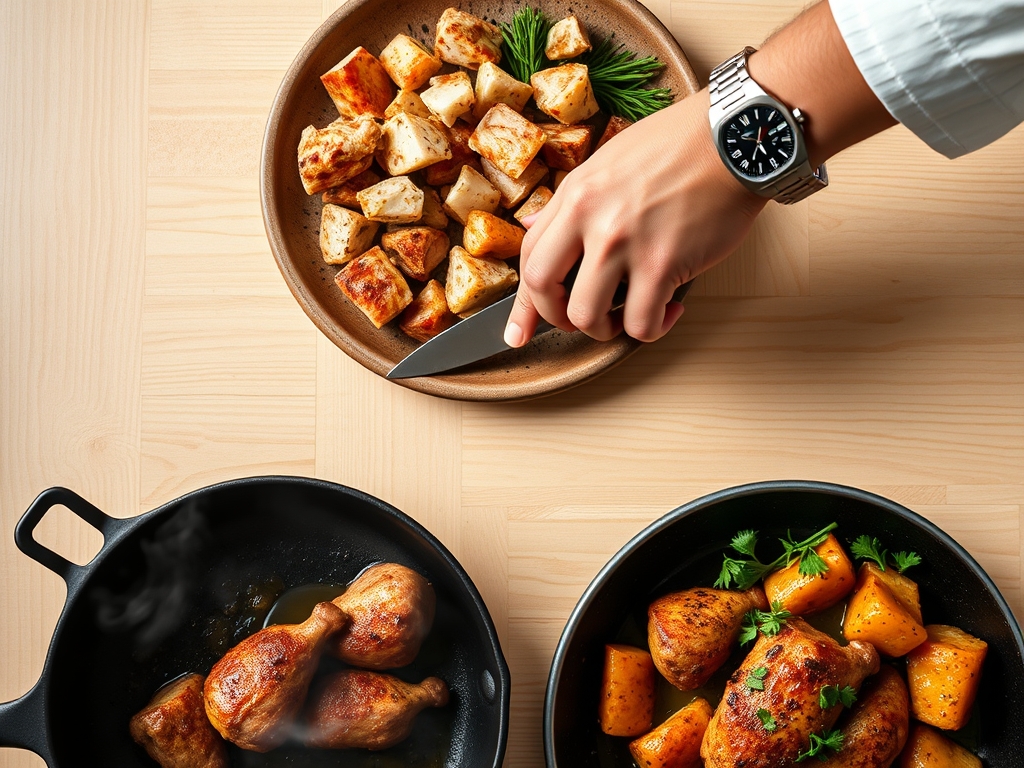
4. The Gentle Submersion
Use long-handled tongs to lay the chicken into the oil away from your body. Do not crowd the pan; leave at least an inch of space between pieces to allow the steam to escape.
Pro Tip: As the chicken cooks, the water inside evaporates. This steam creates a barrier that prevents oil from soaking into the meat. This is why "bubbling" is a sign of a healthy fry.
5. The Internal Audit
Cook the chicken until the skin is a deep mahogany. Use a digital probe thermometer to check the thickest part of the thigh. It should read 165 degrees Fahrenheit.
Pro Tip: Account for thermal carryover. The internal temperature will continue to rise by 3 to 5 degrees after you remove it from the heat. Pulling the chicken at 162 degrees ensures it reaches the perfect final temperature without drying out.
6. The Elevated Rest
Place the finished pieces on a wire cooling rack set over a baking sheet. Never rest fried chicken on paper towels, as the trapped steam will turn the bottom of the crust soggy.
Pro Tip: Resting allows the internal juices, which were pushed to the center by the heat, to migrate back toward the surface. This ensures every bite is equally succulent.
The Deep Dive:
Macro Nutrition: A standard breast portion contains approximately 350 calories, 18 grams of fat, and 30 grams of protein. While calorie-dense, the high protein content provides significant satiety.
Dietary Swaps:
- Vegan: Use "Hen of the Woods" mushrooms or extra-firm tofu pressed for 24 hours. Replace buttermilk with soy milk and apple cider vinegar.
- Keto: Replace flour with a mixture of crushed pork rinds and parmesan cheese. The protein-to-fat ratio remains high while eliminating carbohydrates.
- GF: Use a 1:1 gluten-free flour blend with an extra teaspoon of baking powder to encourage aeration.
The Fix-It:
- Crust Falling Off: This happens if the chicken was too wet. Ensure you pat the meat dry before the first brine and let the dredged chicken sit for 5 minutes before frying to "set" the coating.
- Blood Near the Bone: This indicates the chicken was fried from a frozen or too-cold state. Always temper your meat to room temperature.
- Burnt Flavor: Your oil has reached its "breakdown point." Filter your oil through a fine-mesh sieve between batches to remove burnt flour particles.
Meal Prep & Reheating: To maintain "day-one" quality, never use a microwave. Reheat leftovers in an air fryer or oven at 375 degrees Fahrenheit for 8 minutes. This re-activates the fats in the crust, restoring the original crispness without overcooking the interior.
The Wrap-Up:
You now hold the keys to the most coveted comfort food in the culinary world. By understanding the chemistry of the brine and the physics of the fry, you can move beyond basic church chicken recipes and start creating your own legendary Sunday dinners. Remember, great cooking is 10 percent recipe and 90 percent technique. Keep your oil hot, your flour seasoned, and your patience steady. Now, grab those tongs and go make some noise!
The Kitchen Table:
Why is my fried chicken crust soggy?
Soggy crust usually results from overcrowding the pan or resting the chicken on paper towels. Overcrowding drops the oil temperature, causing the chicken to absorb grease. Use a wire rack to allow air to circulate around the entire piece.
What is the best oil for church-style chicken?
Peanut oil is the gold standard due to its high smoke point and neutral flavor profile. If you have allergies, canola oil or refined avocado oil are excellent alternatives that can withstand the 350-degree heat required for frying.
How do I keep the chicken moist?
The secret is the buttermilk brine. The acid gently breaks down proteins, while the salt pulls moisture into the cells. This creates a buffer that protects the meat from the intense heat of the frying process.
Can I make this in an air fryer?
Yes, though the texture will differ slightly. Spray the dredged chicken liberally with oil to ensure the flour hydrates and browns. Cook at 375 degrees Fahrenheit, flipping halfway through, until the internal temperature hits 165 degrees.