
Close your eyes and listen for that distinctive, aggressive hiss as cold protein meets a screaming hot surface. That sound is the overture to the perfect meal. When you master iron skillet salmon recipes, you are not just cooking dinner; you are conducting a symphony of heat and texture. We are chasing that glass-like skin that shatters under a fork and a translucent, buttery center that melts away. Most home cooks fear the skillet because salmon is a temperamental protagonist. It sticks, it dries out, or it loses its structural integrity before it even hits the plate. But we are going to fix that today. By understanding the thermodynamic properties of cast iron, we can transform a simple fillet into a restaurant-quality masterpiece. Grab your favorite heavy-bottomed skillet and let us get technical. We are about to turn your kitchen into a high-end bistro where the secret ingredient is a deep understanding of molecular chemistry.
The Gathers:
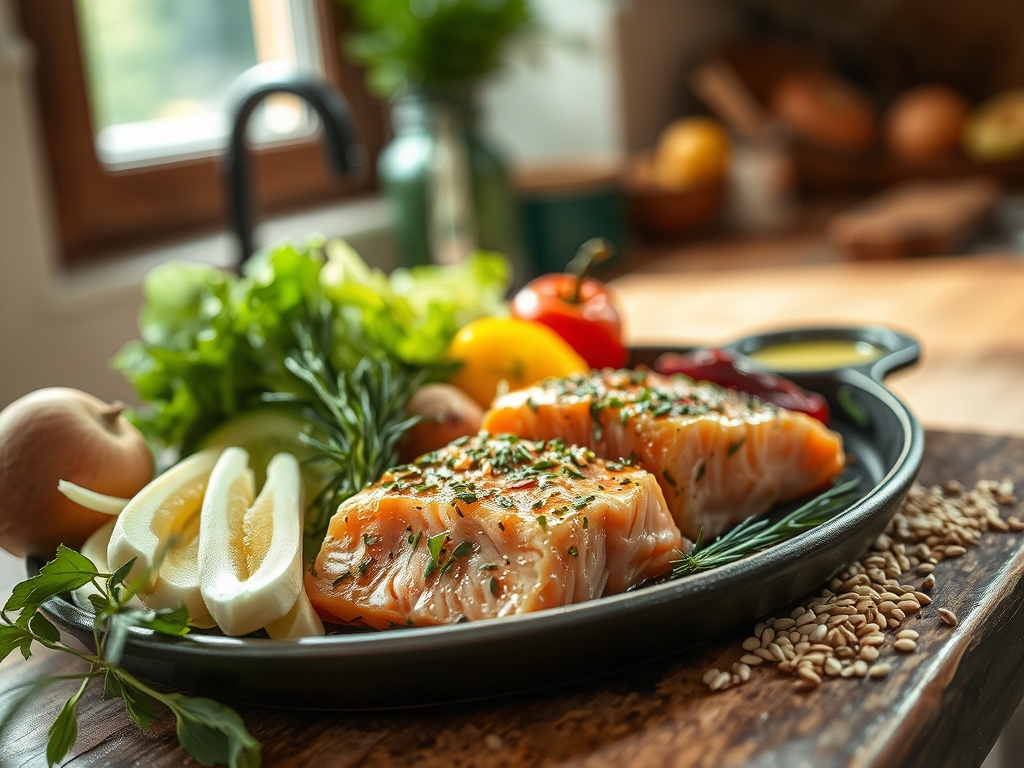
Before the first spark of the burner, your mise-en-place must be flawless. Start with six-ounce fillets of King or Sockeye salmon. You want high fat content because those lipids will render and create a self-basting environment. Look for a vibrant, viscous sheen on the flesh. You will also need a high smoke-point oil like avocado or grapeseed oil; extra virgin olive oil will oxidize and turn bitter at these temperatures.
Gather your aromatics: fresh thyme sprigs, three cloves of smashed garlic, and a cold knob of unsalted European-style butter. The higher butterfat content in European varieties ensures a richer emulsification during the pan-sauce phase. You will need a digital scale to ensure your fillets are uniform in weight, which guarantees they finish cooking at the same millisecond.
Smart Substitutions: If you are avoiding dairy, swap the butter for a refined coconut oil to maintain that creamy mouthfeel without the lactose. If fresh herbs are out of reach, a teaspoon of dried tarragon added to the oil provides a similar piquant profile. Always use flaky sea salt rather than table salt; the larger surface area of the crystals allows for a more controlled seasoning and a satisfying crunch.
The Clock:
Efficiency in the kitchen is all about "Chef's Flow." This is the rhythmic transition from prep to plate that prevents chaos. Your total active time is exactly twenty minutes.
The first ten minutes are dedicated to "The Chill." You must temper your salmon. Taking the fish directly from a 38-degree refrigerator to a 450-degree skillet causes the muscle fibers to seize, resulting in a tough texture. Let the fillets sit on the counter for ten minutes while you prep your microplane for zesting and your tongs for the flip.
The cooking phase is a precise eight-minute window. We follow a 90/10 rule: ninety percent of the cooking happens on the skin side to build a thermal barrier, and the final ten percent is a quick "kiss" of heat on the flesh side. This prevents the delicate albumin (that white protein that leaks out) from coagulating on the surface. Finally, a two-minute rest is mandatory. This allows the internal juices to redistribute, ensuring every bite is succulent.
The Masterclass:
1. The Desiccation Ritual
Use a paper towel to press every molecule of moisture off the skin. If the skin is damp, it will steam rather than fry. You want the surface to feel like parchment paper. Season aggressively with salt only at the very last second.
Pro Tip: This prevents osmosis from drawing internal moisture to the surface. If you salt too early, the salt pulls water out of the cells, creating a wet surface that kills your chances of a crisp sear.
2. The Thermal Threshold
Heat your iron skillet until a drop of water dances and evaporates instantly. Add your oil and wait for the first wisp of blue smoke. This indicates the oil has reached the proper viscosity to coat the microscopic pores of the iron.
Pro Tip: Cast iron has high thermal mass, meaning it holds heat better than stainless steel. This prevents the pan temperature from dropping when the cold fish is added, ensuring the Maillard reaction begins immediately.
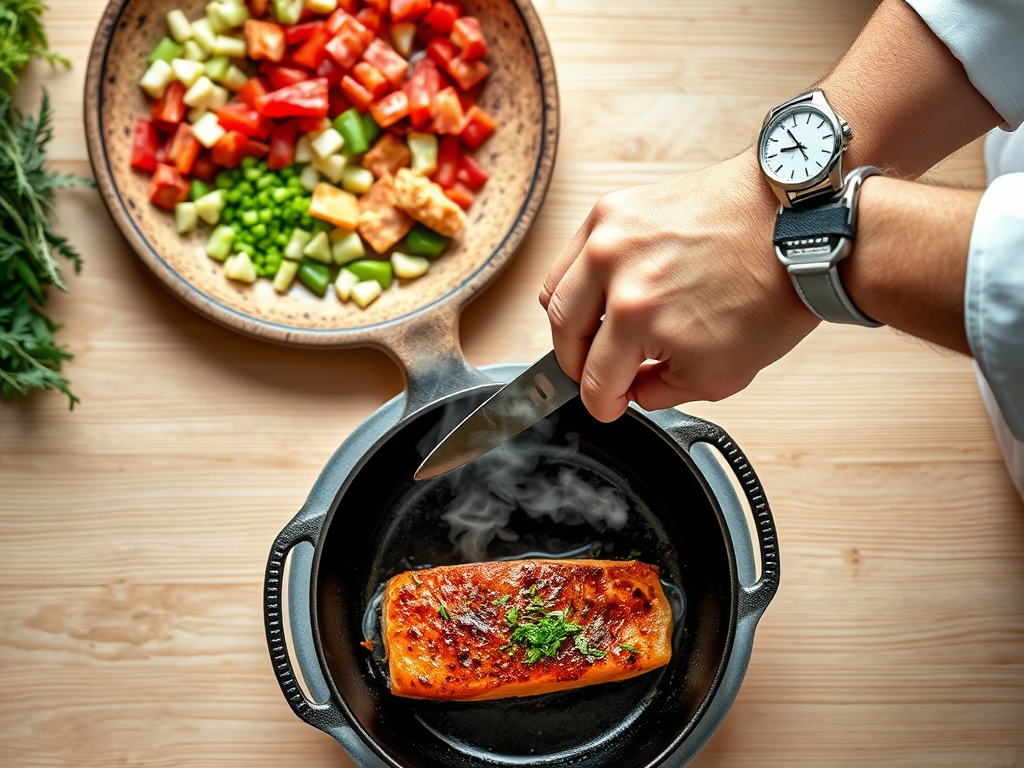
3. The Weighted Press
Lay the salmon away from you to avoid oil splatter. Use a bench scraper or a flexible fish spatula to press down firmly on the fillet for the first thirty seconds. This prevents the skin from curling as the proteins contract.
Pro Tip: This ensures total surface-to-metal contact. Without a manual press, the skin curls and creates air pockets, leading to uneven browning and soggy patches.
4. The Aromatic Infusion
Once the skin is golden and releases naturally from the pan, drop in your butter, garlic, and thyme. As the butter foams, tilt the pan and use a large spoon or a saucier spoon to continuously pour the hot, flavored fat over the raw top of the fish.
Pro Tip: This is called arroser. The hot fat gently cooks the top of the fillet through convection, infusing the meat with garlic and herb essences without drying it out.
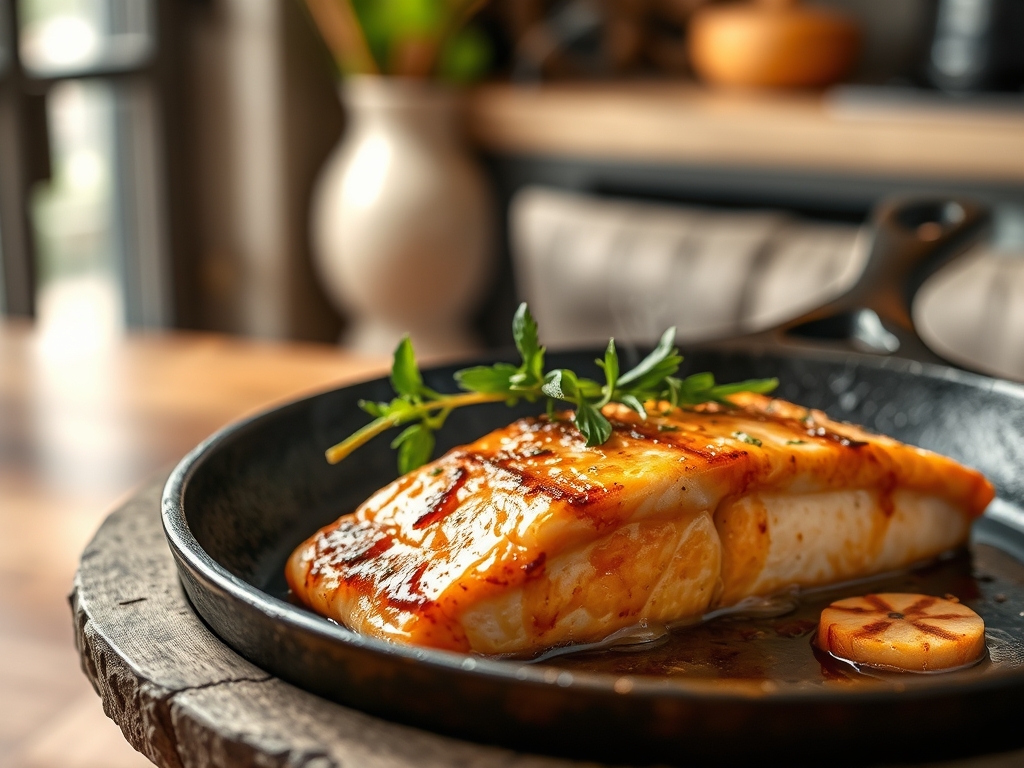
5. The Flip and Kiss
Carefully flip the salmon. The skin should look like a sheet of toasted amber. Turn the heat off completely. The residual heat in the iron is enough to finish the interior to a perfect medium-rare.
Pro Tip: This utilizes thermal carryover. Even after removing the heat source, the internal temperature will rise by 5 to 10 degrees. Stopping early ensures the center remains translucent.
6. The Acidic Brightening
Before plating, use a microplane to grate fresh lemon zest directly over the fillets. The heat from the fish will release the essential oils in the zest, providing a bright, citrusy finish that cuts through the fatty richness.
Pro Tip: This is about sensory layering. The acid in the zest acts as a flavor enhancer, much like salt, making the savory notes of the salmon pop on the palate.
The Deep Dive:
Let us talk numbers and nuances. A standard six-ounce serving of iron skillet salmon provides roughly 34 grams of high-quality protein and 22 grams of heart-healthy fats, specifically Omega-3 fatty acids. It is a nutritional powerhouse that fits perfectly into a Keto or Paleo lifestyle. For my Vegan friends, you can apply these same searing techniques to thick slabs of "Lion's Mane" mushrooms or extra-firm tofu pressed to remove moisture. If you are Gluten-Free, you are already in the clear; this recipe relies on pure ingredients without fillers.
The Fix-It: Common Pitfalls
- The Fish Sticks: You tried to flip it too early. Protein bonds to the pan initially; it will naturally "release" once the crust has formed. Be patient.
- White Gunk (Albumin): Your heat was too high or you cooked it too long. That white stuff is just coagulated protein. It is safe to eat, but it means the fish is slightly overdone.
- Soggy Skin: You likely crowded the pan. Cook only two fillets at a time to allow steam to escape.
Meal Prep Mastery: If you have leftovers, do not microwave them. Microwaves vibrate water molecules, which turns salmon into rubber. Instead, flake the cold salmon into a salad or gently reheat it in a saucier with a splash of chicken bone broth over low heat to maintain the moisture.
The Wrap-Up:
Mastering iron skillet salmon recipes is a rite of passage for any serious home cook. It is the perfect marriage of rugged cast iron and delicate seafood. By controlling the moisture, managing the thermal mass of your pan, and respecting the resting period, you can achieve a result that rivals any five-star establishment. Remember, cooking is just delicious chemistry. Now, go get that skillet screaming hot and show that salmon who is boss!
The Kitchen Table:
How do I know when the salmon is done without a thermometer?
Press the side of the fillet with your finger. If the flakes begin to separate easily (the "flake test") but the center still feels slightly firm, it is medium-rare. The fish will continue cooking as it rests.
Can I use a non-stick pan instead of cast iron?
You can, but you will lose the superior crust. Non-stick pans cannot safely reach the high temperatures required for a true Maillard sear. Cast iron provides the intense, even heat necessary for that signature crunch.
Why does my salmon smell "fishy" after cooking?
"Fishy" smells come from Trimethylamine (TMA) produced as fish ages. Always buy high-quality, fresh-smelling seafood. To neutralize minor odors, rinse the fillets in cold water and pat them bone-dry before seasoning and cooking.
Do I really need to leave the skin on?
Yes! Even if you do not plan to eat it, the skin acts as a protective heat shield. It prevents the delicate flesh from toughening against the hot metal, ensuring the meat remains tender and moist throughout.