
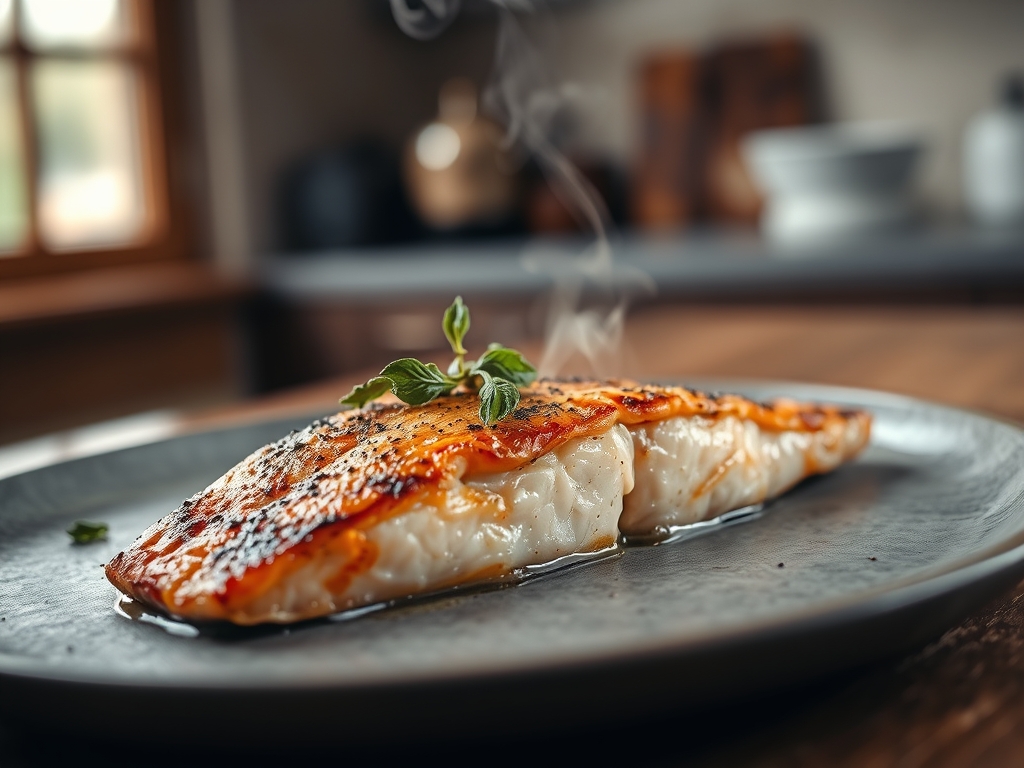
Imagine the scent of citrus-infused steam hitting the air the moment you crack the oven door. The skin is shatter-crisp; the flesh is a vibrant, translucent coral that flakes with the mere suggestion of a fork. We have all endured that sad, chalky, overcooked fillet at a wedding buffet, but today we are reclaiming the crown. To master the best baked salmon recipes ever, you must treat the fish like a delicate thermal project rather than just a Tuesday night chore. We are balancing fat, acid, and heat to achieve that buttery, melt-in-your-mouth texture that makes guests lean in and ask for your secret. It is not magic; it is molecular precision wrapped in a gold-foil presentation.
The Gathers:
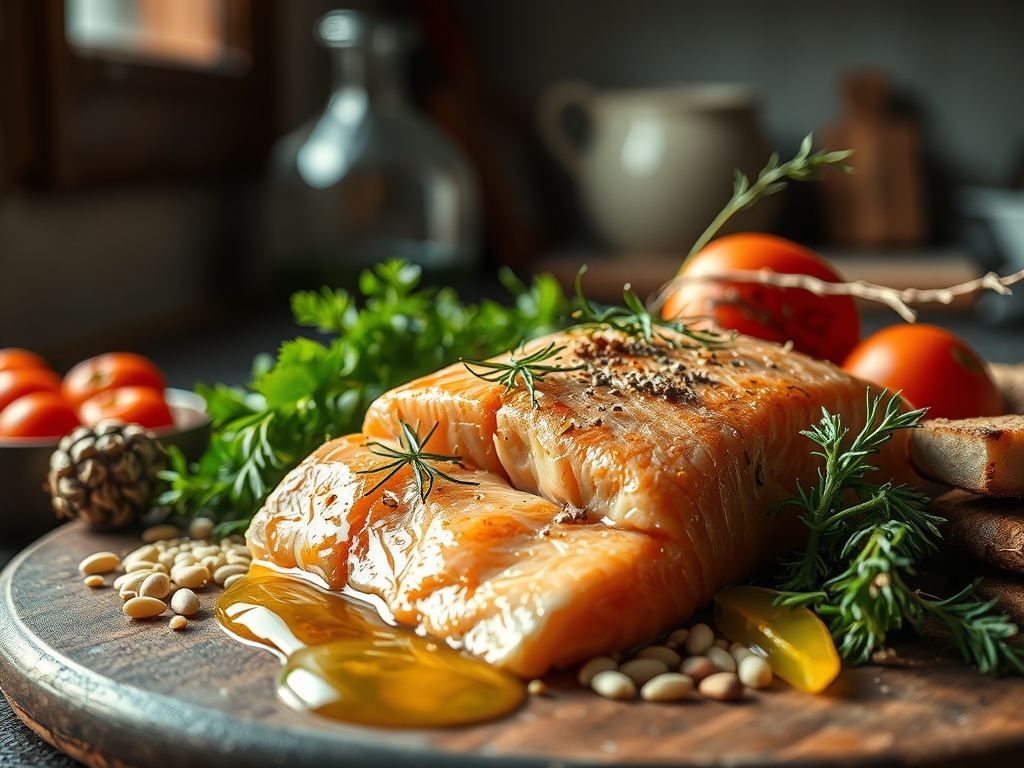
To begin, your mise-en-place must be impeccable. Start with a center-cut Atlantic or King salmon side, weighing approximately three pounds. You will need high-smoke-point fats like avocado oil or clarified butter to ensure the skin does not stick to the pan. For the aromatic profile, gather fresh dill, flat-leaf parsley, and three cloves of garlic. Use a microplane to zest two lemons; this tool releases the essential oils without the bitter white pith. You will also need coarse kosher salt to draw out moisture and cracked black pepper for a piquant finish.
Smart Substitutions: If you are avoiding dairy, swap the butter for a viscous extra virgin olive oil or a rich tahini paste for an earthy depth. For those watching sodium, a splash of coconut aminos provides that savory umami without the salt spike. If you cannot find fresh herbs, use a high-quality dried tarragon, but remember that dried herbs are more concentrated; use only one-third of the volume.
The Clock
Efficiency in the kitchen is about "Chef's Flow," which is the art of overlapping tasks so no heat is wasted. Your total active prep time is exactly 12 minutes. The salmon will bake for 15 to 20 minutes depending on thickness, followed by a mandatory 5-minute rest period. While the oven preheats to 425 degrees Fahrenheit, you should be zesting, chopping, and tempering your fish. Never put a cold fillet into a hot oven; let it sit on the counter for 15 minutes to take the chill off. This ensures the proteins cook evenly from the edges to the center.
The Masterclass
1. The Desiccation Phase
Pat the salmon bone-dry with paper towels. Moisture is the enemy of the Maillard reaction. If the surface is damp, the fish will steam rather than sear, resulting in a rubbery texture. Use a digital scale to ensure your seasoning ratios are consistent across the entire surface area.
Pro Tip: This process is called surface desiccation. By removing water, you allow the heat to immediately begin the Maillard reaction, which is the chemical dance between amino acids and reducing sugars that creates a savory, browned crust.
2. The Acidic Infusion
Apply your citrus zest and a thin layer of Dijon mustard. The mustard acts as an emulsifier, helping the herbs and fats cling to the flesh. Use a saucier to gently melt your butter with garlic before drizzling it over the top. This ensures the garlic is infused into the fat rather than burning on the surface.
Pro Tip: Acid denatures proteins. By adding lemon zest rather than just juice before baking, you provide the bright flavor profile without prematurely "cooking" the fish through acid-induced coagulation, which can make it tough.
3. The High-Heat Launch
Place the salmon on a preheated heavy-duty baking sheet. You should hear a faint sizzle. This initial contact helps render the fat in the skin, making it crispy rather than flabby. Position the rack in the upper third of the oven to take advantage of the convective heat.
Pro Tip: Metal is a superior thermal conductor. Using a heavy-rimmed baking sheet ensures that heat is transferred via conduction to the bottom of the fish while the oven air handles the top via convection.
4. The Glaze Application
Five minutes before the timer ends, brush on a mixture of honey and soy sauce. This late-stage application prevents the sugars from scorching while allowing them to become viscous and tacky. Use a silicone pastry brush to avoid tearing the delicate flakes.
Pro Tip: This is known as caramelization. By waiting until the final minutes, you reach the 320 degree Fahrenheit threshold required for sugar browning without reaching the carbonization point where things turn bitter and black.
5. The Thermal Check
Use a digital probe thermometer to check the internal temperature. Pull the salmon out when it hits 125 degrees Fahrenheit for medium-rare or 130 degrees Fahrenheit for medium. The temperature will continue to rise once it is out of the oven.
Pro Tip: This is thermal carryover. The residual heat on the surface continues to travel toward the center even after the heat source is removed. Ignoring this leads to the dreaded white "albumin" oozing out, which is a sign of over-contracted protein fibers.
6. The Rest and Finish
Transfer the salmon to a wooden board using a wide offset spatula. Let it rest for five minutes. This allows the internal juices to redistribute. If you cut it immediately, the moisture will leak out, leaving the meat dry. Finish with a flourish of flaky sea salt and fresh herbs.
Pro Tip: Resting allows the protein matrix to relax. As the temperature stabilizes, the muscle fibers reabsorb some of the moisture, ensuring every bite is succulent rather than watery.
The Deep Dive
From a macro perspective, salmon is a nutritional powerhouse. A six-ounce serving provides roughly 34 grams of high-quality protein and is rich in Omega-3 fatty acids, which support heart health and cognitive function. For Keto followers, this recipe is naturally low-carb; just swap the honey glaze for a lemon-butter-caper sauce. Vegans can apply these same seasoning techniques to a large "steak" of cauliflower or firm tofu, though the cooking times will vary.
The Fix-It: Common Pitfalls
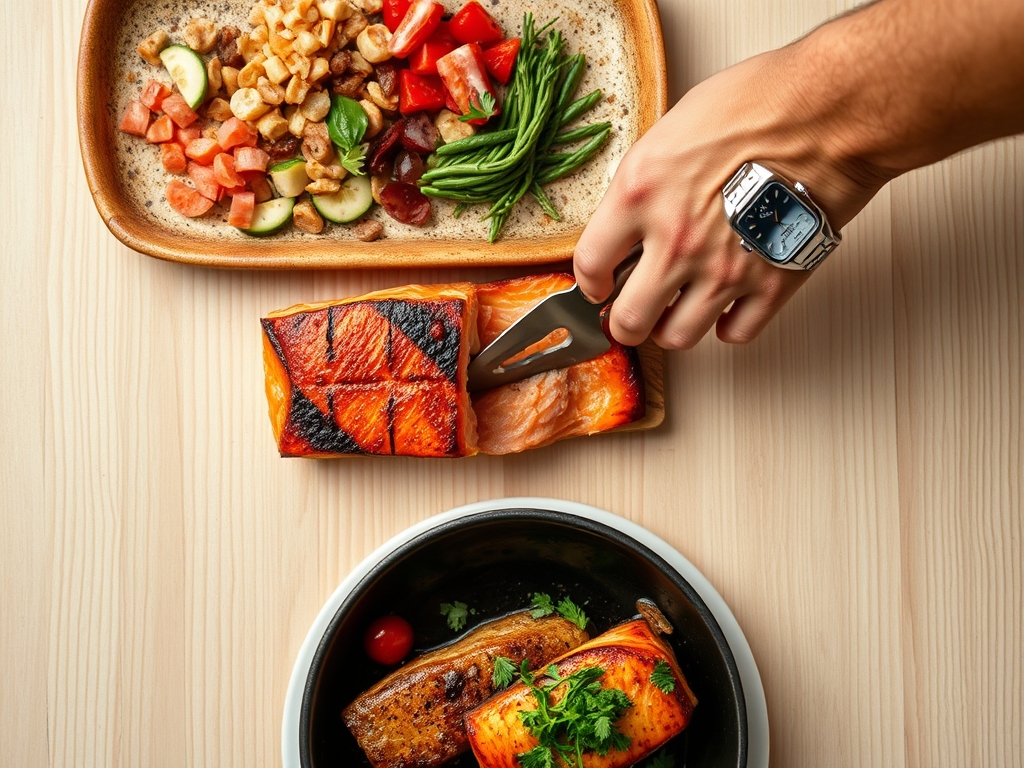
If your salmon is oozing white gunk, that is albumin. It means the heat was too high or you cooked it too long. Fix this by lowering your oven temp by 25 degrees next time. If the skin is soggy, you likely skipped the desiccation step; use a bench scraper to remove the fish from the pan and crisp the skin in a heavy-bottomed skillet for 60 seconds. If the flavor is flat, you need more salt; salt is a flavor multiplier that unlocks the "closed" molecules of the fish.
Meal Prep Science
To reheat salmon without it smelling like a tuna can, avoid the microwave. The high-frequency waves agitate the fat molecules too quickly, causing them to oxidize and smell "fishy." Instead, place the leftover fillet in a 275-degree oven with a tablespoon of water and cover it with foil. This creates a gentle steam chamber that restores the original texture.
The Wrap-Up
Creating the best baked salmon recipes ever is about respecting the chemistry of the kitchen. By focusing on surface moisture, temperature control, and the magic of thermal carryover, you transform a simple protein into a gourmet experience. Remember to use your tools—the microplane, the digital thermometer, and the offset spatula—to bridge the gap between amateur and chef. Now, go pour a glass of crisp Sauvignon Blanc and get ready to impress.
The Kitchen Table
How do I prevent the white stuff on salmon?
That white substance is albumin, a protein that pushes to the surface when the fish cooks too fast. To prevent it, cook the salmon at a lower temperature or pull it out just before it reaches its final target internal temp.
Should I bake salmon covered or uncovered?
Bake it uncovered if you want a roasted, caramelized exterior. If you prefer a poached, soft texture, wrap it in parchment paper or foil. Uncovered is generally superior for achieving a professional, restaurant-style crust and better flavor development.
How can I tell if salmon is done without a thermometer?
Press the top of the fillet gently with a fork or your finger. If the flesh flakes easily along the natural white lines (the fat layers) and feels firm but slightly springy, it is ready. If it is squishy, it needs more time.
Is it better to bake salmon at 350 or 400 degrees?
For the best results, 400 to 425 degrees Fahrenheit is ideal. The higher heat renders the fat quickly and creates a beautiful exterior while keeping the inside moist. Lower temperatures often result in a mushy texture and gray, unappealing skin.