
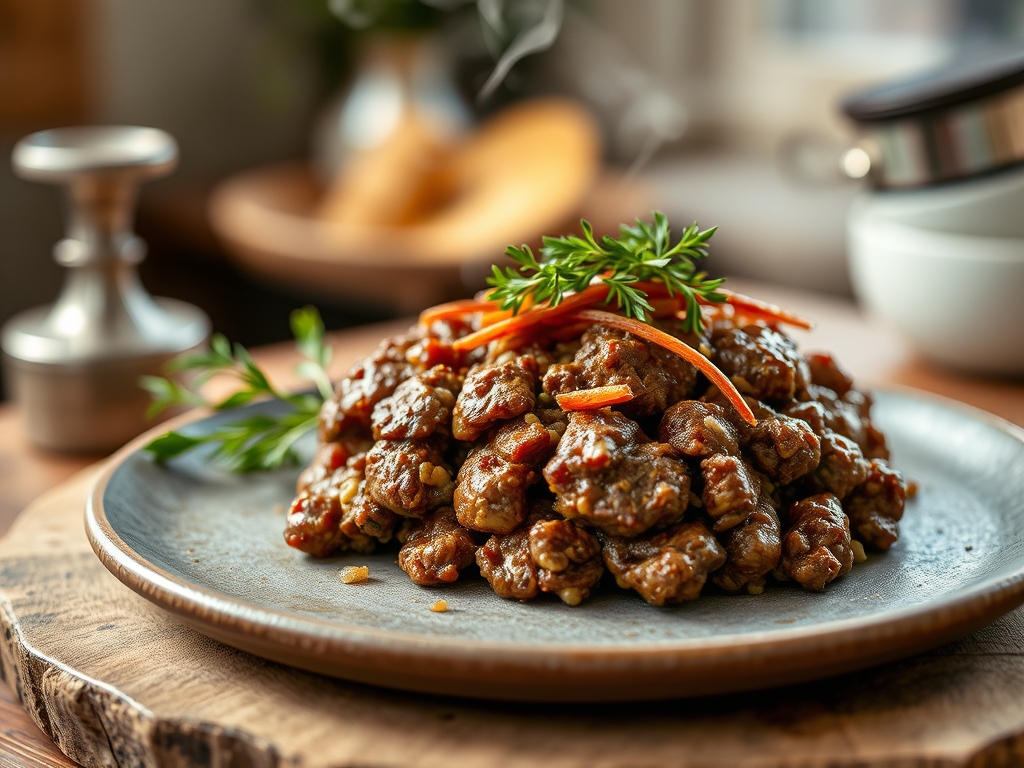
The scent of searing fat is the universal language of a kitchen that means business. When that cold, ruby-red brick of protein hits a preheated heavy-bottomed skillet, you are not just making dinner; you are initiating a complex series of chemical transformations. Finding the perfect pound of ground beef recipes is about more than just convenience. It is about mastering the art of the stretch and the sear. Whether you are feeding a hungry family or meal prepping for a high-performance week, that single pound is your most versatile culinary asset. We are going to move beyond the basic burger and dive into the molecular magic that turns humble mince into a gourmet masterpiece.
The Gathers:
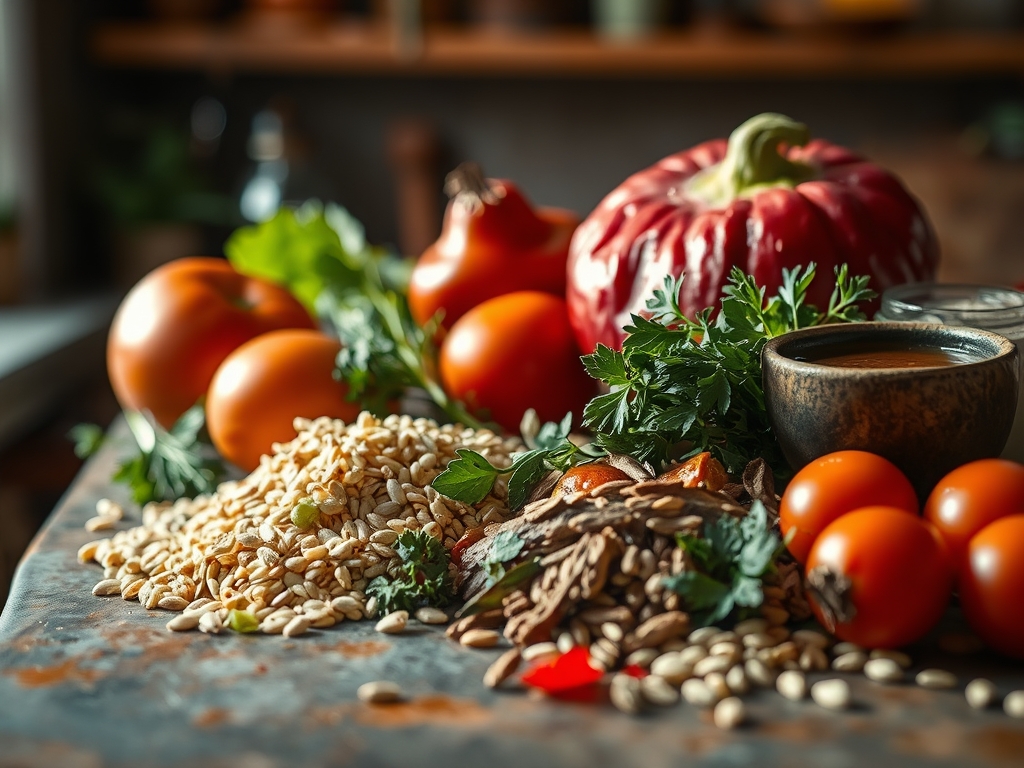
To execute these hacks, your mise-en-place must be precise. Start with one pound of 80/20 ground chuck; the 20 percent fat content is non-negotiable for flavor and moisture retention. You will need a piquant array of aromatics: minced shallots, garlic cloves, and perhaps some grated ginger. For the "stretch" hacks, gather high-surface-area binders like panko breadcrumbs, riced cauliflower, or cooked lentils. These do not just add bulk; they absorb the rendered lipids that would otherwise leak out of the pan.
Smart Substitutions: If you are out of fresh garlic, use a dash of garlic oil to maintain the viscous mouthfeel without the risk of burning raw bits. Swap traditional soy sauce for liquid aminos if you need a gluten-free umami bomb. If your beef feels too lean, a tablespoon of cold, grated butter worked into the meat will mimic the marbling of a prime cut.
The Clock:
Efficiency in the kitchen is governed by the Chef's Flow. This is the art of overlapping tasks to minimize downtime. For these pound of ground beef recipes, your prep time should never exceed fifteen minutes. The cooking time varies from a lightning-fast six-minute sear for taco crumbles to a twenty-minute gentle simmer for a concentrated ragu. Always allow for a five-minute rest period. This is not just a suggestion; it allows the muscle fibers to relax and reabsorb the juices, ensuring every bite is succulent rather than dry.
The Masterclass:
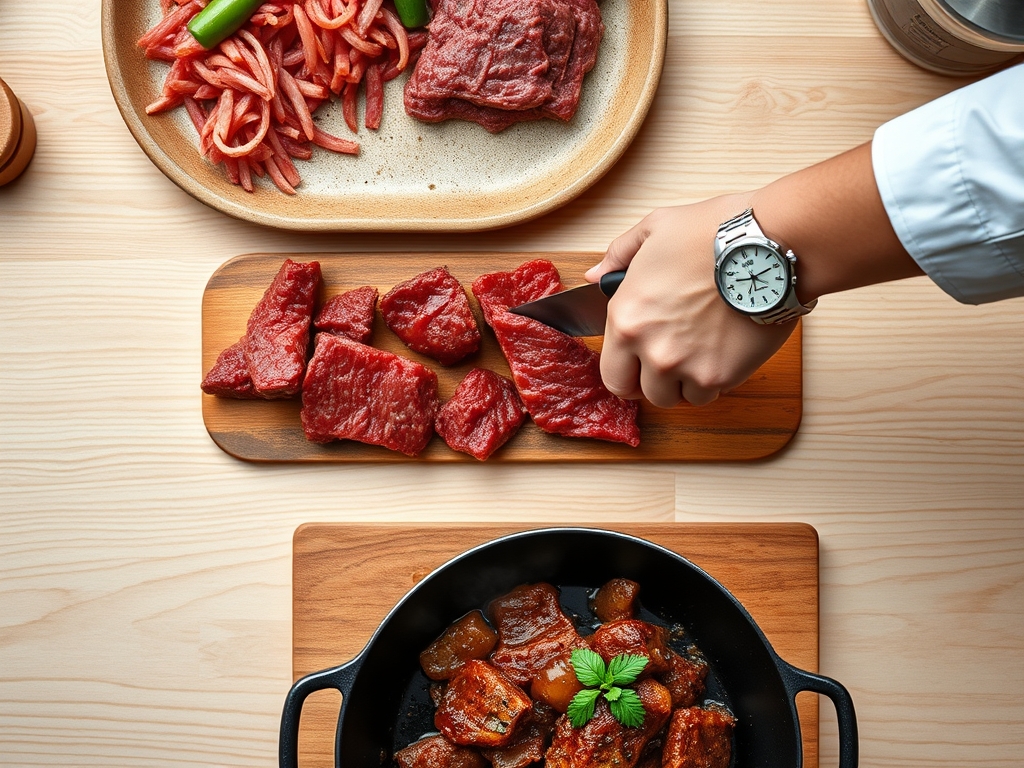
1. The Maillard Sear
Place your beef in a wide, heavy-bottomed skillet. Do not crowd the pan. Use a stiff metal spatula to press the meat flat against the heat source. Leave it undisturbed until a deep, dark crust forms.
Pro Tip: This is the Maillard Reaction, where amino acids and reducing sugars rearrange to create hundreds of flavor compounds. If you stir too early, you trap steam and boil the meat instead of searing it.
2. The Deglaze Technique
Once your meat is browned and removed, you will see brown bits stuck to the pan. Pour in a splash of beef stock or dry red wine and scrape the bottom with a wooden spoon.
Pro Tip: These bits are called fond. Deglazing creates a highly concentrated, savory liquid that acts as a natural sauce base, intensifying the beefy profile of your dish.
3. The Aerated Meatball
When forming meatballs or koftas, toss the meat lightly with your fingertips rather than kneading it. Incorporate a splash of heavy cream or a whisked egg to create an emulsion.
Pro Tip: Overworking the meat causes proteins to cross-link and toughen. Keeping the mixture aerated ensures a tender, melt-in-the-mouth texture.
4. The Umami Boost
Incorporate finely chopped mushrooms or a teaspoon of anchovy paste into the raw beef. These ingredients are rich in glutamates which synergize with the beef.
Pro Tip: This is known as flavor layering. The mushrooms mimic the texture of the beef while doubling the perceived savory depth without adding extra calories.
5. The Cold-Start Emulsion
For a silky Bolognese style, start your beef in a cold saucier with a small amount of liquid. Break it apart as the pan heats up.
Pro Tip: This prevents the proteins from seizing into large, rubbery chunks, resulting in a fine, uniform crumble that coats pasta perfectly.
6. The Bench Scraper Portioning
Use a bench scraper to divide your pound into exactly four four-ounce patties or eight two-ounce sliders. Use a digital scale for absolute precision.
Pro Tip: Uniform size ensures thermal consistency. Every piece will reach the safe internal temperature of 160 degrees Fahrenheit at exactly the same moment.
7. The Microplane Infusion
Instead of dicing onions, use a microplane to grate them directly into the meat. This releases the cellular juices and creates an instant marinade.
Pro Tip: The sulfur compounds in the onion juice act as a mild enzymatic tenderizer, breaking down tough connective tissues during the short cook time.
8. The Fat Render
If your beef is particularly fatty, tilt the pan and use a spoon to remove the excess liquid gold. Save this in a glass jar.
Pro Tip: This rendered tallow has a high smoke point and is incredible for roasting potatoes later in the week.
9. The Carryover Control
Remove your beef from the heat when it is just a few degrees shy of your target temperature. Transfer it to a warm plate and cover loosely with foil.
Pro Tip: Thermal carryover will continue to cook the meat for several minutes. Pulling it early prevents the "gray zone" of overcooked protein.
10. The Acid Finish
Just before serving, stir in a teaspoon of red wine vinegar or a squeeze of fresh lime.
Pro Tip: Acid cuts through the heavy lipids on the palate. It brightens the entire dish and makes the savory notes "pop" without needing extra salt.
The Deep Dive:
Nutritiously, a pound of 80/20 beef provides roughly 1,150 calories and 80 grams of high-quality protein. It is a powerhouse of B12, zinc, and heme iron. For Keto followers, this is a perfect ratio of fat to protein. For Keto or Paleo adaptations, simply swap out breadcrumbs for almond flour. If you are cooking for a Vegan guest, use a pea-protein crumble and increase the fat with avocado oil to mimic the beef's mouthfeel.
The Fix-It:
- Gray, Steamed Meat: Your pan was too cold or too crowded. Fix it by removing the meat, wiping the pan, and restarting with high heat in batches.
- Excessive Salt: If you over-salted, add a peeled potato to the simmering sauce to absorb excess sodium, then discard the potato.
- Dry Texture: If the meat is overcooked, stir in a tablespoon of Greek yogurt or sour cream to add moisture and fat back into the fibers.
For Meal Prep, the secret to day-one quality is gentle reheating. Avoid the microwave if possible. Instead, use a small skillet with a tablespoon of water and a lid. The steam will re-hydrate the protein without toughening the fibers.
The Wrap-Up:
Mastering a pound of ground beef recipes is the ultimate kitchen flex. It proves that you do not need expensive cuts to create five-star flavors. By understanding the science of the sear and the power of the deglaze, you turn a basic grocery staple into a week of culinary wins. Now, grab your skillet and let those fats render!
The Kitchen Table:
How do I stop ground beef from sticking?
Ensure your skillet is properly preheated before adding the meat. Use a high-smoke-point oil and let the meat sear undisturbed. Once the Maillard crust forms, the beef will naturally release from the pan surface without tearing.
Can I cook ground beef from frozen?
Yes, but it is not ideal for texture. If you must, use a low heat to thaw the exterior, scraping away the cooked bits as they soften. For the best results, always thaw overnight in the refrigerator.
What is the best fat ratio for burgers?
An 80/20 ratio is the industry standard for a reason. The twenty percent fat provides the necessary lubrication for the muscle fibers, ensuring a juicy result even after the high-heat searing process required for a perfect crust.
How long does cooked ground beef last?
Properly stored in an airtight container, cooked ground beef remains safe and flavorful for three to four days in the refrigerator. For longer storage, freeze it for up to three months to maintain optimal texture and moisture.