
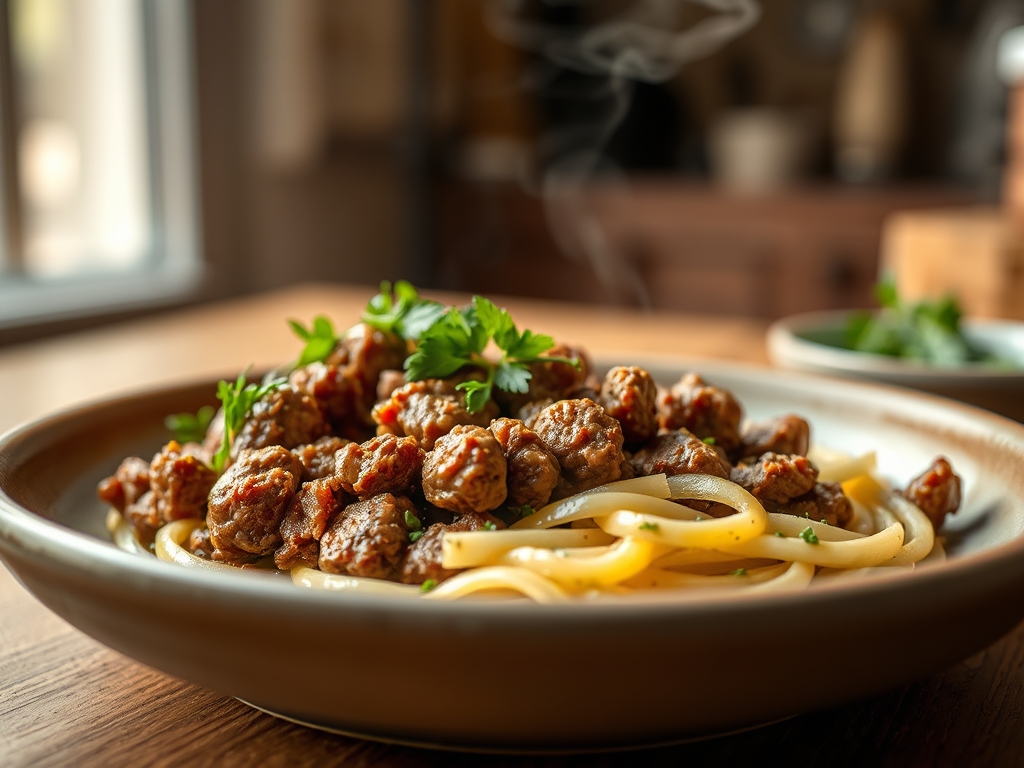
Picture this: you are standing in your kitchen, the clock is ticking, and your appetite is demanding a masterpiece. You need simple ground beef recipes few ingredients that do not sacrifice depth for speed. The scent of searing fat hitting a hot stainless steel pan is a chemical promise of satisfaction. We are stripping away the fluff to focus on the pure, savory potential of high quality protein.
This is not just about survival cooking; it is about mastering the fundamental physics of the kitchen. Ground beef is a culinary chameleon. When you understand how to manipulate its fat content and surface area, you can create a week of diverse meals with a grocery list that fits on a sticky note. We are going to harness the power of high heat and minimal additives to transform humble ingredients into something truly piquant and memorable. Whether you are craving a crusty smash burger or a silky, pan-sauced ragu, the secret lies in the technique rather than a crowded pantry. Let us dive into the molecular magic of the Maillard reaction and the art of the perfect sear.
The Gathers:
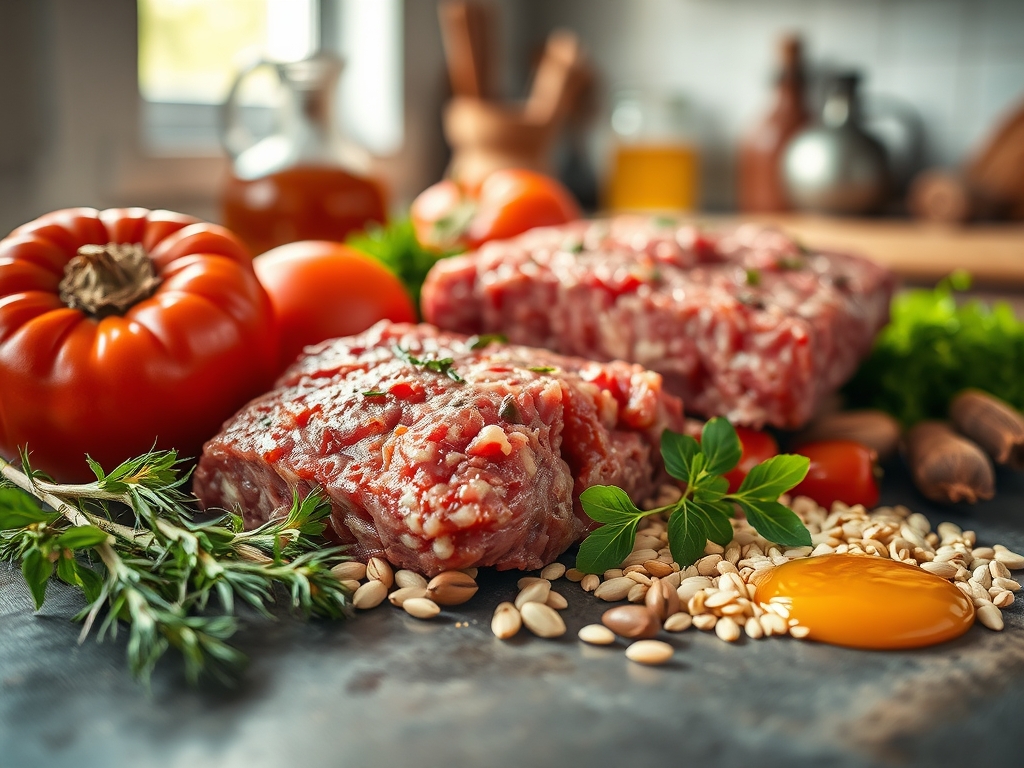
Before we ignite the burner, we must assemble our mise-en-place. For these simple ground beef recipes few ingredients, quality is your only shield. Start with 80/20 ground chuck; the 20 percent fat ratio is essential for a viscous mouthfeel and to prevent the meat from becoming desicated during high-heat applications. You will need a heavy-bottomed skillet, preferably cast iron or tri-ply stainless steel, to ensure even heat distribution.
Your secondary players are few but mighty. Keep a bowl of coarse kosher salt and a pepper mill nearby. Salt is not just a seasoning; it is a denaturant that alters the protein structure to retain moisture. For aromatics, a single head of garlic and a bunch of scallions will provide both sulfurous depth and a fresh, piquant finish. If you have a microplane, use it to zest citrus or grate hard cheeses to add a concentrated punch of flavor without adding bulk.
Smart Substitutions:
If you find yourself without fresh garlic, a dash of high-quality garlic oil can infuse the dish with the same aroma. Running low on beef? You can extend the volume of your meal by folding in finely chopped cremini mushrooms. Mushrooms share the same nucleotide profile as beef, which amplifies the savory umami sensation through a process called synergistic umami. For a low-carb swap, replace traditional starch with sturdy cabbage ribbons that wilt into a noodle-like texture when tossed in the rendered beef fat.
The Clock
Efficiency in the kitchen is governed by the "Chef's Flow." This is the psychological state where your movements are synchronized with the thermal properties of your equipment. For these six meals, the average active prep time is exactly twelve minutes. You are not just chopping; you are preparing for a series of rapid-fire chemical reactions.
The cooking phase generally spans fifteen to twenty minutes. The first five minutes are dedicated to the render, where the solid white fats melt into a liquid medium. The middle ten minutes are for the Maillard reaction, where amino acids and reducing sugars rearrange to create that distinctive brown crust. The final five minutes are for the rest and carryover, allowing the internal temperature to stabilize so the juices do not evacuate the meat the moment you take a bite. By following this rhythm, you ensure that every component reaches its peak texture simultaneously.
The Masterclass
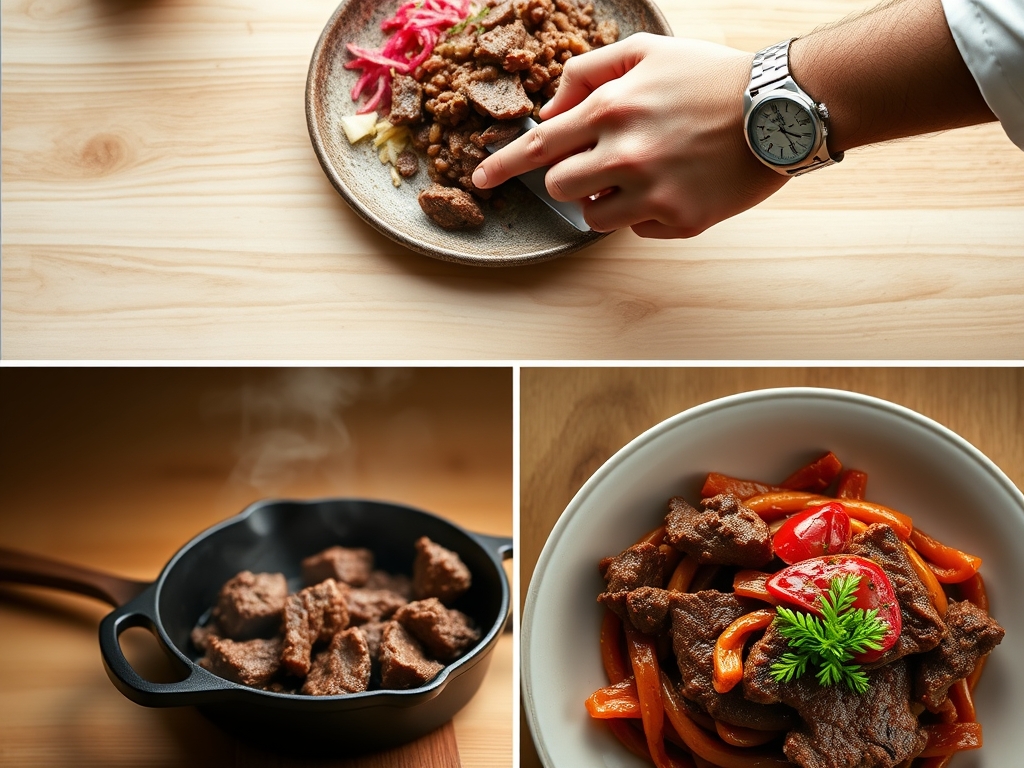
1. The High-Heat Sear
Place your heavy-bottomed skillet over medium-high heat until a drop of water flicked onto the surface dances and evaporates instantly. Add the beef in a single, flat layer. Do not stir it immediately. Let the meat sit undisturbed for three minutes to maximize surface contact.
Pro Tip: This patience facilitates enzymatic browning. If you move the meat too early, you break the heat cycle and the beef will steam in its own moisture rather than frying, resulting in a grey, rubbery texture.
2. The Deglaze and Emulsify
Once the beef is browned, use a bench scraper or wooden spoon to move the meat to the edges. Add a splash of liquid—water, broth, or even a hit of vinegar—to the center. Scrape up the "fond," which are the caramelized protein bits stuck to the bottom.
Pro Tip: This process is called deglazing. The liquid captures the concentrated flavor of the fond and, when swirled with the remaining fat, creates a rudimentary emulsion that coats every morsel of beef in a glossy sauce.
3. The Aromatic Infusion
Push the beef aside and drop your aromatics, like minced garlic or ginger, directly into the rendered fat. Cook for only thirty seconds until fragrant. If you use a microplane for the garlic, it will dissolve almost instantly into the fat, creating a uniform flavor profile.
Pro Tip: Fat is a highly effective solvent for flavor compounds. By infusing the fat before mixing it back into the bulk of the meat, you ensure that the piquant notes are distributed at a molecular level.
4. The Texture Balance
Add your textural components, such as sliced peppers or leafy greens. Use tongs to toss the mixture, ensuring the vegetables are coated in the seasoned beef fat but still retain a slight "snap."
Pro Tip: This prevents cellular collapse in the vegetables. You want to heat them just enough to soften the cellulose while maintaining enough structure to provide a contrast to the tender beef.
5. The Acidic Brightness
Just before removing the skillet from the heat, add a squeeze of lime or a teaspoon of vinegar. Stir rapidly to incorporate the acid into the warm fat.
Pro Tip: Acid acts as a sensory counterbalance. It cuts through the heavy, viscous lipids of the beef, "waking up" your taste buds and making the savory flavors pop with more intensity.
6. The Carryover Rest
Transfer the beef to a warm plate or serving bowl. Allow it to sit for three minutes before serving. This is the hardest part, but the most crucial for the final mouthfeel.
Pro Tip: This accounts for thermal carryover. The internal temperature will continue to rise by about five degrees after leaving the pan. Resting allows the protein fibers to relax and reabsorb the juices, ensuring a succulent result.
The Deep Dive
When we look at the macro nutrition of these simple ground beef recipes few ingredients, we see a powerhouse of bioavailability. A standard four-ounce serving of 80/20 beef provides roughly 20 grams of protein and 20 grams of fat. It is a dense source of Vitamin B12 and Zinc, which are essential for neurological function and immune health.
Dietary Swaps:
For those following a Keto protocol, these recipes are naturally compliant; just ensure your "few ingredients" do not include hidden sugars in pre-packaged spices. For a Vegan alternative, use a pea-protein based crumble and add a teaspoon of liquid aminos to mimic the savory depth of beef. Gluten-Free diners should simply ensure that any thickening agents used are cornstarch or arrowroot rather than flour.
The Fix-It:
- The Greasy Skillet: If the dish feels too heavy, your fat did not emulsify. Fix this by adding a tablespoon of mustard or a splash of starchy pasta water to bind the fat to the liquid.
- The Dry Crumble: If you used 90/10 beef and it feels like sawdust, add a tablespoon of butter or bone broth at the end to reintroduce moisture.
- The Burnt Garlic: If your aromatics turned bitter, you added them too early. Next time, wait until the very end of the sear, or "bloom" them in a separate small saucier and pour them over the finished beef.
Meal Prep Science:
To maintain "day-one" quality when reheating, avoid the microwave if possible. The microwave agitates water molecules, which can toughen the beef proteins. Instead, use a small skillet with a teaspoon of water and a lid. The steam will gently aerate the meat and redistribute the fats without overcooking the protein.
The Wrap-Up
Mastering simple ground beef recipes few ingredients is the ultimate culinary superpower. It proves that you do not need a pantry full of exotic spices to create a meal that feels like a hug in a bowl. By focusing on the mechanics of the sear, the science of the rest, and the balance of acid and fat, you transform a basic protein into a gourmet experience. Now, grab your favorite skillet and let the kitchen become your laboratory. You have the tools, the knowledge, and the appetite; go make something incredible!
The Kitchen Table
Can I use frozen ground beef for these recipes?
Yes, but defrost it completely in the refrigerator first. Excess moisture from ice crystals will prevent the Maillard reaction, leading to steamed meat rather than a savory, caramelized crust. Always pat the meat dry with a paper towel before searing.
What is the best way to drain excess fat?
Use a slotted spoon to transfer the cooked beef to a paper-towel-lined plate. Alternatively, tilt the skillet and use a bulb baster to remove liquid fat. Always leave a teaspoon of fat behind to infuse with your aromatics for flavor.
How do I know when the beef is fully cooked?
Use a digital scale or thermometer to check for an internal temperature of 160 degrees Fahrenheit. Visually, the meat should be uniformly brown with no translucent pink spots, indicating that the proteins have fully denatured and are safe for consumption.
Why does my ground beef sometimes smell like sulfur?
If the beef is fresh, this is often due to vacuum packaging. Let the meat sit at room temperature for five minutes to aerate. If the scent persists or the meat feels slimy, the proteins have begun to spoil; discard it immediately.