
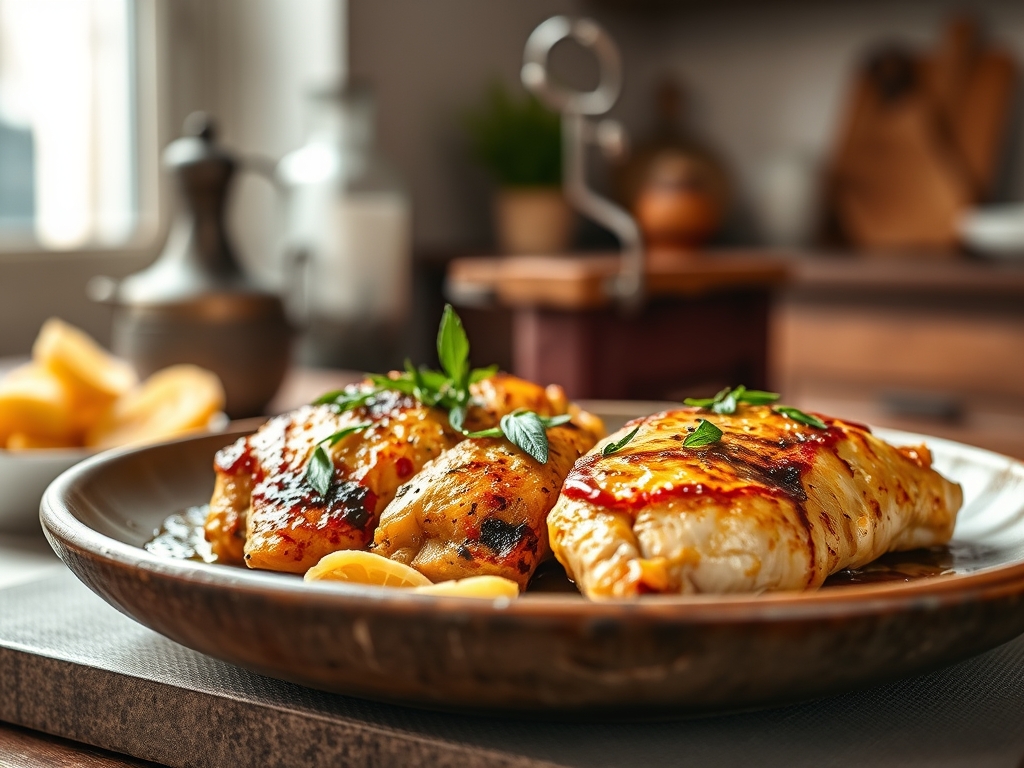
Picture the golden, crackling skin of a thigh as it emerges from a cloud of steam, releasing the piquant aroma of toasted garlic and rosemary. When you search for the ultimate italian chicken recipes baked in a home oven, you are not just looking for a meal; you are looking for a transformation of simple protein into a masterpiece of texture and depth. The secret lies in the Maillard reaction, that magical chemical bridge where amino acids and reducing sugars meet high heat to create hundreds of flavor compounds. We are moving beyond the dry, uninspired breasts of the past. We are embracing the science of heat transfer to ensure every bite is succulent, infused with the essence of the Mediterranean, and structurally perfect.
The beauty of Italian cookery is its reliance on high-quality fats and acidic brighteners. Whether we are talking about a classic Cacciatore or a crispy Parmesan crust, the goal is balance. We want to render the subcutaneous fat until the skin is shatteringly crisp while maintaining an internal temperature that keeps the meat moist. This guide will walk you through eight variations of the craft, from the lemon-heavy brightness of Piccata-style bakes to the rich, viscous sauces of a classic Marsala. Put on your apron and grab your favorite heavy-bottomed skillet; we are about to turn your kitchen into a high-end trattoria.
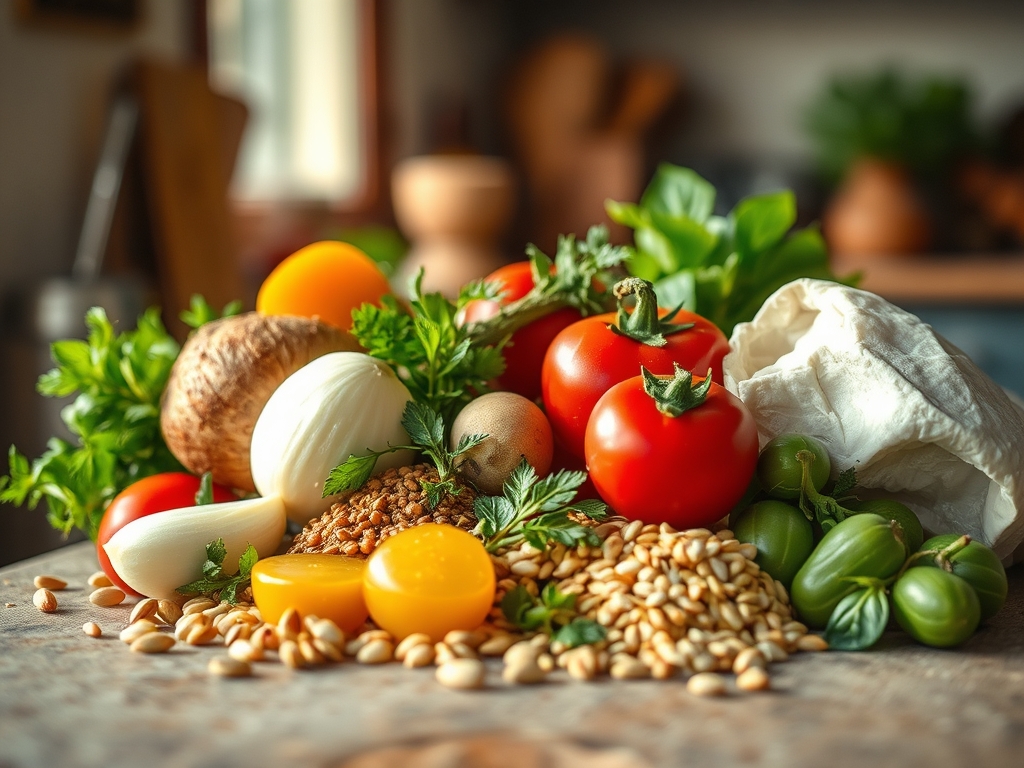
The Gathers:
To execute these italian chicken recipes baked to perfection, your mise-en-place must be precise. Start with high-quality poultry, ideally air-chilled to prevent excess water weight from steaming the meat. You will need a microplane for zesting citrus and grating hard cheeses like Parmigiano-Reggiano. Use a digital scale to measure your flour and breadcrumbs; volume can be deceptive, but mass never lies. Your pantry should include cold-pressed extra virgin olive oil, which provides a peppery finish, and a dry white wine like Pinot Grigio to deglaze the pan and release those flavorful brown bits known as fond.
Smart Substitutions: If you are out of fresh shallots, use the white parts of scallions for a similar sulfurous bite. For those avoiding dairy, a high-quality nutritional yeast provides that savory, umami punch usually reserved for Pecorino. If you lack fresh herbs, remember that dried herbs are more concentrated; use a one-to-three ratio. Always crush dried oregano between your palms to release the volatile oils before adding them to the dish.
The Clock
Efficiency in the kitchen is about understanding "Chef's Flow." Most of these dishes require a 15-minute active prep window followed by a 25 to 35-minute bake time. While the oven preheats to a blistering 425 degrees Fahrenheit, you should be searing your protein. This high-heat start ensures you do not spend the entire evening hovering over the stove. By the time the chicken hits the oven, your role shifts from active cook to passive observer. Use this window to prepare a crisp arugula salad or boil water for a side of al dente pasta. Total time from fridge to table is usually under an hour, making these recipes the gold standard for weeknight elegance.
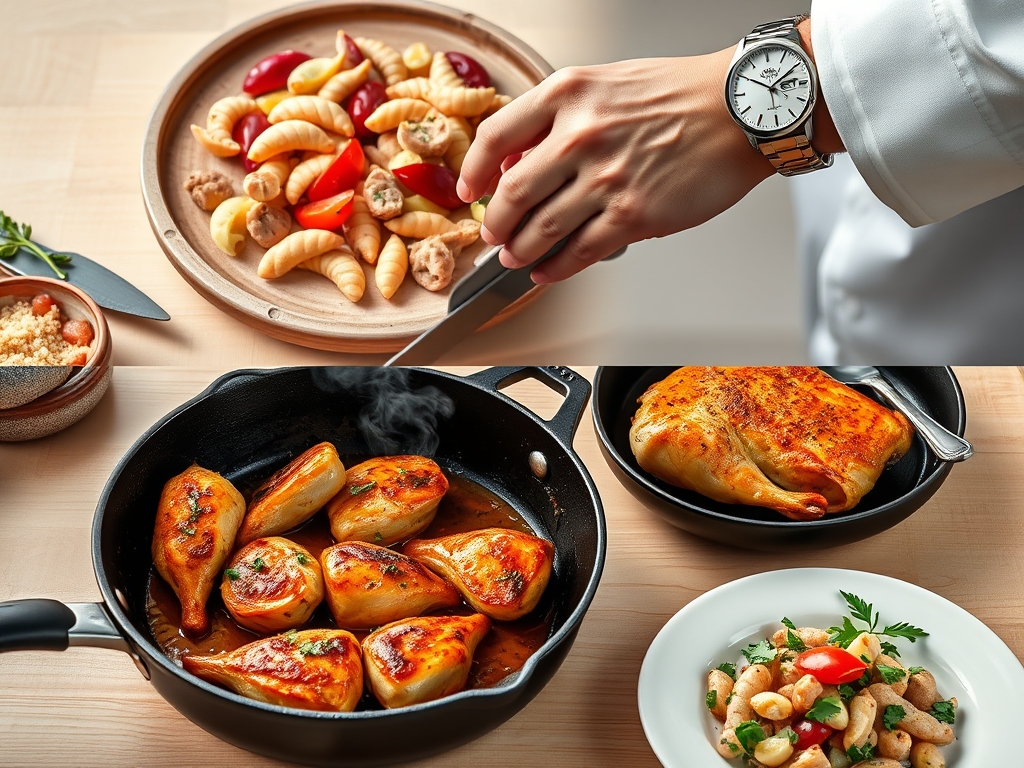
The Masterclass
1. The Initial Sear and Fond Development
Before the chicken ever touches the oven, you must build a foundation of flavor. Pat the meat bone-dry with paper towels to ensure no surface moisture interferes with the sear. Heat a heavy-bottomed skillet until the oil shimmers but does not smoke. Place the chicken skin-side down and do not move it for at least four minutes.
Pro Tip: This stage relies on enzymatic browning. Moving the meat too early tears the protein fibers and prevents the formation of a crust. Wait for the meat to naturally release from the pan surface.
2. Deglazing the Saucier
Once the chicken is seared and set aside, you will see brown remnants on the pan. Pour in your acidic liquid, such as wine or lemon juice, and use a bench scraper or wooden spoon to lift those particles. This process, known as deglazing, incorporates the concentrated savory notes back into the sauce.
Pro Tip: Alcohol acts as a flavor bridge. It bonds with both fat and water molecules, allowing the aromatics to penetrate the meat more deeply than water-based liquids alone.
3. Emulsifying the Braising Liquid
Add your aromatics, like garlic and capers, then stir in a cold pat of butter or a splash of heavy cream. You are looking to create a viscous sauce that coats the back of a spoon. If the sauce looks broken or oily, whisk in a tablespoon of starchy pasta water to bind the fats.
Pro Tip: This is the science of emulsification. By whisking fat into a water-based liquid with an emulsifier like mustard or starch, you create a stable, creamy texture that won't separate under heat.
4. The Final Bake and Thermal Carryover
Transfer the skillet to the oven. This ambient heat cooks the chicken through evenly without burning the exterior. Use a digital thermometer to pull the chicken when it hits 160 degrees Fahrenheit.
Pro Tip: Thermal carryover will continue to raise the internal temperature by another 5 degrees while the meat rests. Pulling it at 160 ensures it reaches the safe 165 mark without becoming stringy and dry.
The Deep Dive
From a macro nutrition perspective, these italian chicken recipes baked are a powerhouse. A standard serving offers roughly 35 grams of protein with moderate fats coming from heart-healthy olive oil. To keep it Keto, omit the flour dredging and use almond flour or crushed pork rinds for texture. For a Vegan twist, roasted cauliflower steaks or thick-cut oyster mushrooms can stand in for the chicken, as they both have the structural integrity to withstand high-heat roasting.
The Fix-It:
- Soggy Skin: This usually happens because the oven temperature was too low or the pan was overcrowded. Ensure at least an inch of space between pieces to allow for proper air circulation.
- Broken Sauce: If your lemon-butter sauce separates, whisk in a teaspoon of warm water very quickly. The water helps re-establish the bond between the fats and solids.
- Bland Meat: If the flavor is only on the surface, you likely skipped the dry brine. Salt your chicken at least 30 minutes before cooking to allow the salt to penetrate the muscle fibers via osmosis.
Meal Prep Science: To reheat and maintain "day-one" quality, avoid the microwave. The microwave agitates water molecules, which can turn the protein rubbery. Instead, place the chicken in a covered dish with a splash of broth and bake at 300 degrees until warmed through. This gentle reheating prevents further protein denaturation.
The Wrap-Up
Mastering italian chicken recipes baked is about more than just following a list of ingredients; it is about understanding how heat, acid, and fat interact to create something spectacular. When you hear that sizzle in the pan and smell the garlic beginning to infuse the oil, you are participating in a culinary tradition that prizes technique over complexity. Go forth, use your tongs with confidence, and remember that the best meals are those where the science is hidden behind a veil of incredible flavor.
The Kitchen Table
How do I prevent baked chicken from getting dry?
Use a meat thermometer to pull the chicken at 160 degrees Fahrenheit. Allow it to rest for five minutes; this lets the juices redistribute through the muscle fibers, ensuring a succulent result rather than a dry, stringy texture.
Can I use frozen chicken for these recipes?
You should always thaw chicken completely in the refrigerator before baking. Frozen centers cook slower than the exterior, leading to a dangerously uneven result where the outside is burnt while the inside remains raw and unsafe to consume.
What is the best pan for Italian baked chicken?
A cast-iron skillet or a heavy stainless steel pan is ideal. These materials provide superior heat retention and distribution, which is essential for achieving a professional-grade sear and a consistent bake once the dish is moved to the oven.
Why should I sear chicken before baking it?
Searing creates the Maillard reaction, developing complex flavors and a crispy texture that baking alone cannot achieve. It also creates "fond" in the pan, which serves as the flavor base for your sauce after you deglaze with wine or broth.