
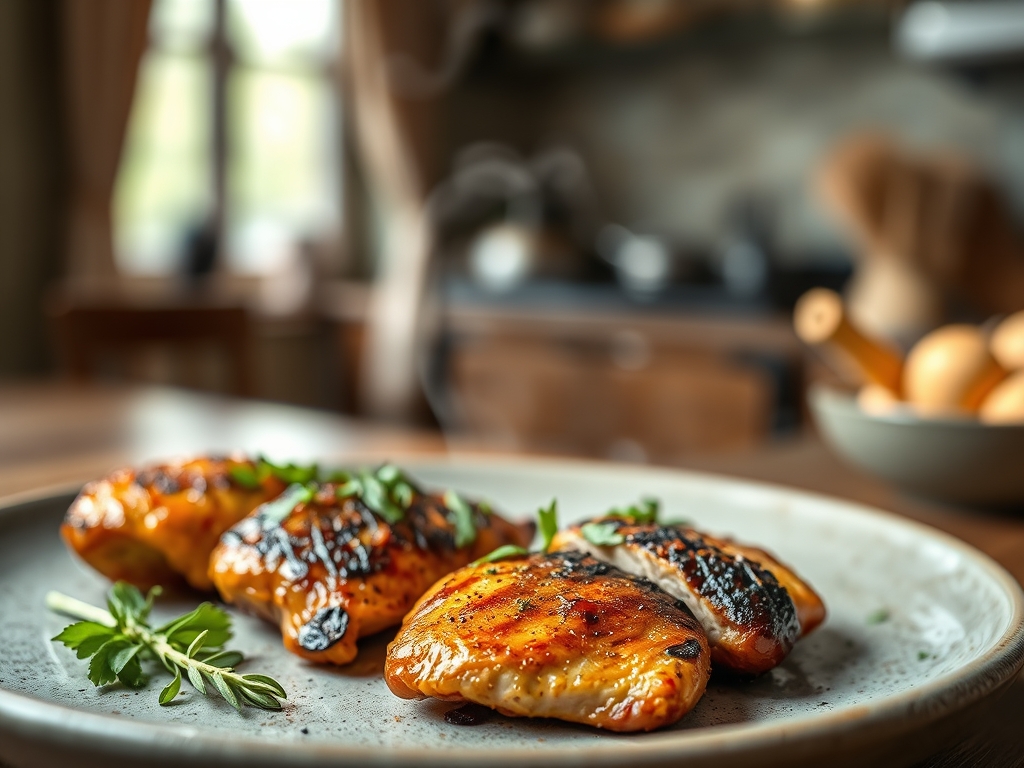
Picture the scene: the sun is dipping low; the air is thick with the scent of charred hickory; and you are standing over the grates like a culinary conductor. We have all been there, staring at a piece of poultry that is somehow both burnt and raw. When you master grill bbq chicken recipes, you are not just cooking; you are managing a complex series of thermodynamic reactions. Most people treat the grill like a blunt instrument, but we are going to treat it like a scalpel. We are chasing that elusive intersection of crispy, lacquered skin and interior proteins that practically dissolve on the tongue. This is not about luck. This is about understanding how heat moves through muscle fiber and how sugars caramelize before they carbonize. We are going to dive deep into the molecular magic of the Maillard reaction while keeping things breezy enough for a backyard hangout. Grab your favorite apron and a cold drink; we are about to turn your patio into a five star kitchen.
The Gathers:
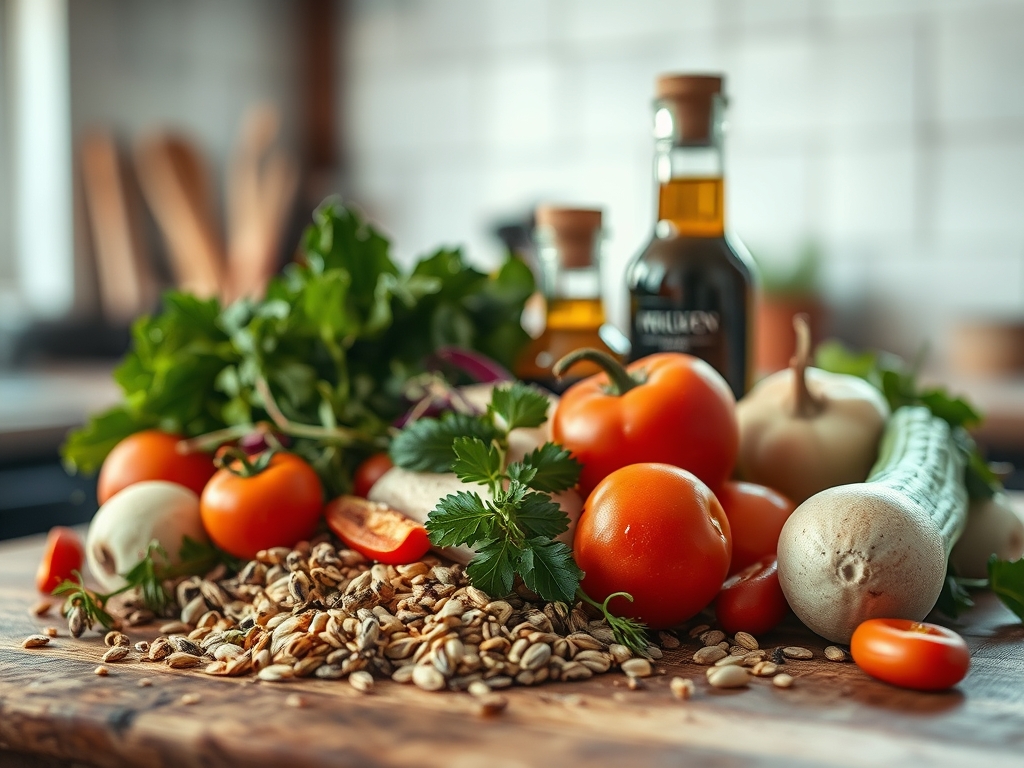
To execute world class grill bbq chicken recipes, your mise-en-place must be precise. Start with organic, air chilled chicken thighs or drumsticks. Air chilled poultry is superior because it has not been bloated with water weight; this ensures the skin can actually crisp rather than just steam. You will need a high quality kosher salt (like Diamond Crystal) to begin the denaturation process. For the rub, gather smoked paprika for depth, garlic powder for umami, and dry mustard to act as an emulsifier for the fats.
Your wet components are just as vital. You need a piquant sauce with a balanced pH. Look for a base of tomato paste and apple cider vinegar. The acidity is crucial; it cuts through the rendered fat and brightens the entire profile. You will also need a high smoke point oil, such as avocado or grapeseed oil, to coat the grates.
Smart Substitutions: If you are out of honey for your glaze, use maple syrup or agave nectar. The glycemic index differs, but the caramelization properties remain similar. If you find yourself without wood chips for smoke, a teaspoon of smoked sea salt or a dash of liquid smoke in your marinade can mimic that outdoor essence. Always use a microplane to zest a bit of lime into your sauce at the end; the volatile oils in the citrus peel provide a floral top note that balances the heavy smoke.
The Clock
Efficiency in the kitchen is all about the Chef's Flow. This is the art of overlapping tasks so that no time is wasted. For this masterclass, expect a total commitment of about 90 minutes.
- The Prep (20 Minutes): This involves trimming the chicken, applying the dry brine, and whisking your sauce in a saucier.
- The Rest (30 Minutes): Never skip this. Allowing the meat to come to room temperature ensures even heat distribution.
- The Fire (30 to 40 Minutes): This is your active grill time, including the crucial searing and glazing phases.
- The Recovery (10 Minutes): This is the final rest where the juices redistribute.
By the time the grill is preheated, your chicken should be seasoned and your tools (tongs, digital scale, and instant-read thermometer) should be laid out. This flow prevents the frantic scrambling that leads to flare ups and scorched cutlets.
The Masterclass
1. The Dry Brine Protocol
Start by patting the chicken bone-dry with paper towels. Use your bench scraper to clear the board of any excess moisture. Liberally apply kosher salt and your dry rub, ensuring every crevice is coated. This should happen at least 30 minutes before the meat hits the heat.
Pro Tip: This process uses osmosis to pull moisture out of the skin and then pull the seasoned brine back into the muscle fibers. This seasons the meat to the bone and alters the protein structure to retain more juice during cooking.
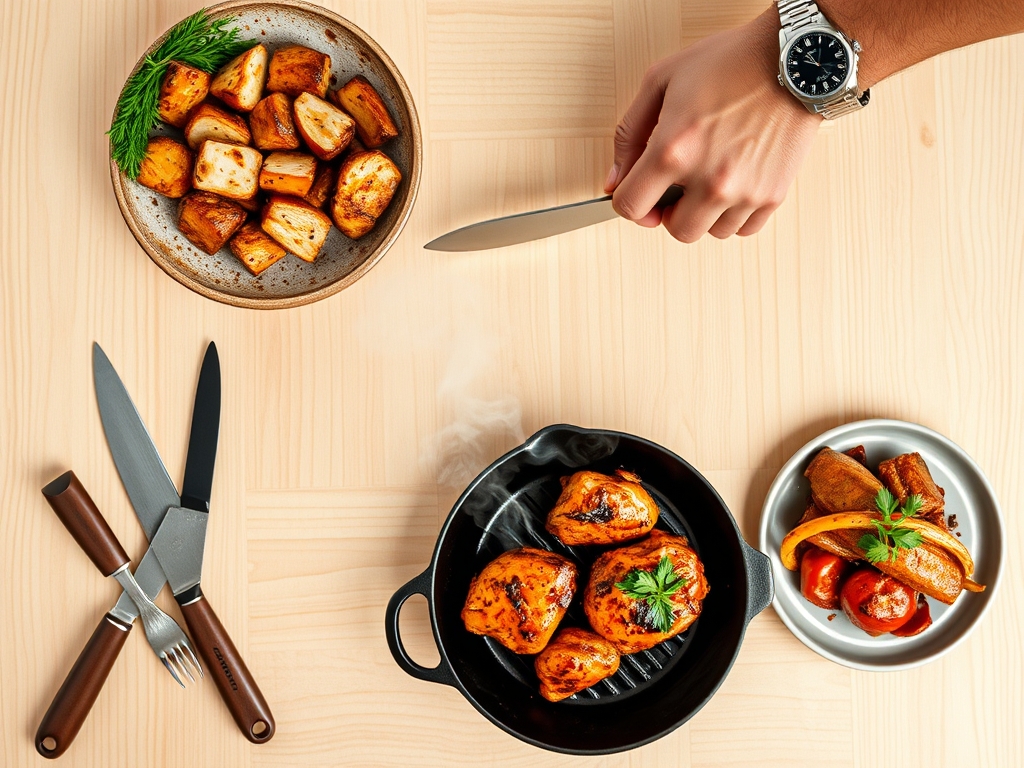
2. Zonal Heat Configuration
Set up your grill for two zone cooking. This means having one side screaming hot with direct flame and the other side completely cool. Use your heavy-bottomed skillet on the side if you need to simmer your sauce simultaneously.
Pro Tip: Two zone cooking manages thermal gradients. You sear on the hot side to trigger the Maillard reaction (the browning of sugars and amino acids) and finish on the cool side to prevent the exterior from burning before the interior reaches safety.
3. The Initial Sear
Place the chicken skin-side down on the direct heat zone. Use long handled tongs to press the meat firmly against the grates for maximum contact. Do not move the meat for at least three minutes.
Pro Tip: This stage is about conduction. If the meat sticks, the proteins have not finished bonding and releasing. Once a proper crust has formed, the meat will naturally "release" from the metal.
4. Managing the Render
Move the chicken to the indirect, cooler side of the grill once the skin is golden. Close the lid to create an oven-like environment. This allows the fat to render slowly, dripping away without causing massive flare ups that deposit soot on your food.
Pro Tip: Closing the lid utilizes convection heat. This surrounds the chicken with hot air, ensuring the thickest parts of the thigh cook at the same rate as the surface.
5. The Glaze Application
Only apply your sugar-based BBQ sauce during the final 10 minutes of cooking. Use a silicone brush to paint thin, even layers over the chicken, flipping occasionally.
Pro Tip: This is called lacquering. Because most BBQ sauces contain high levels of fructose or sucrose, they will burn at temperatures above 300 degrees Fahrenheit. Applying them late ensures they caramelize into a sticky coating rather than turning into bitter carbon.
6. The Internal Temp Check
Use a high quality digital thermometer to check the thickest part of the meat. You are looking for 165 degrees Fahrenheit for breasts and 175 degrees for thighs.
Pro Tip: Dark meat contains more collagen. Cooking thighs to a slightly higher temperature (175F) allows that collagen to break down into gelatin, resulting in a much more succulent mouthfeel than if you stopped at the standard safety minimum.
7. The Rest Period
Transfer the chicken to a warm platter and tent loosely with foil. Let it sit for at least ten minutes before serving.
Pro Tip: This accounts for thermal carryover. The internal temperature will continue to rise by about 5 degrees after removal. Resting also allows the muscle fibers to relax, meaning the juices stay in the meat instead of spilling onto the cutting board.
8. The Final Aeration
Before serving, give the chicken a tiny spritz of apple juice or a final brush of fresh, unheated sauce.
Pro Tip: This adds a layer of viscous shine and a hit of raw acidity. It refreshes the flavors that may have become muted by the intense heat of the grill.
The Deep Dive
When we look at the Macro Nutrition, chicken thighs are a powerhouse of protein and healthy fats. A standard serving provides roughly 25g of protein. If you are watching calories, stick to the breast and skip the heavy sugar glazes.
Dietary Swaps: For a Keto version, replace the sugar in your sauce with erythritol or monk fruit. For a Vegan alternative, this same eight step method works beautifully with oyster mushrooms or thick slabs of cauliflower. If you are Gluten-Free, double check your Worcestershire sauce and liquid smoke labels, as they often contain barley malt.
The Fix-It:
- The Flare-Up: If the grill catches fire, do not use water. Move the meat to the cool zone and close the lid to starve the fire of oxygen.
- Rubber Skin: This happens when the heat is too low. Flash sear the skin at the very end on the hottest part of the grill to crisp it up.
- Dry Meat: If you overcook it, shred the meat and toss it in extra sauce and a bit of butter. The fats will mimic the lost moisture.
Meal Prep: To reheat and maintain "day-one" quality, avoid the microwave. Use a toaster oven at 325 degrees with a splash of water in the pan to create steam. This re-hydrates the proteins without making the skin soggy.
The Wrap-Up
You are now officially armed with the technical prowess to dominate any backyard cookout. By focusing on heat zones, moisture control, and the timing of your glazes, you have moved beyond basic recipes and into the realm of culinary science. Remember; the grill is your instrument, and you just learned how to play the lead solo. Go forth, ignite those coals, and show everyone what a masterclass in BBQ looks like!
The Kitchen Table
How do I prevent chicken from sticking to the grill?
Clean your grates with a wire brush while they are hot. Then, use a paper towel dipped in high smoke point oil to coat the metal. This creates a non stick, carbonized layer similar to a seasoned cast iron skillet.
Should I boil chicken before grilling?
Never. Boiling leaches out the flavor and ruins the texture of the skin. If you are worried about raw centers, use the two zone indirect grilling method described above. It ensures a safe internal temperature while preserving the meat's structural integrity.
What is the best wood for smoking chicken?
Fruitwoods like apple, cherry, or peach are ideal for poultry. They provide a mild, sweet smoke that does not overwhelm the delicate flavor of the bird. Avoid heavy woods like mesquite unless you are looking for a very aggressive, earthy profile.
Can I use frozen chicken for BBQ recipes?
You must thaw it completely in the refrigerator first. Grilling frozen meat results in a "thermal shock" where the outside burns before the inside even defrosts. Always pat the thawed meat dry to ensure a proper sear and crust formation.