
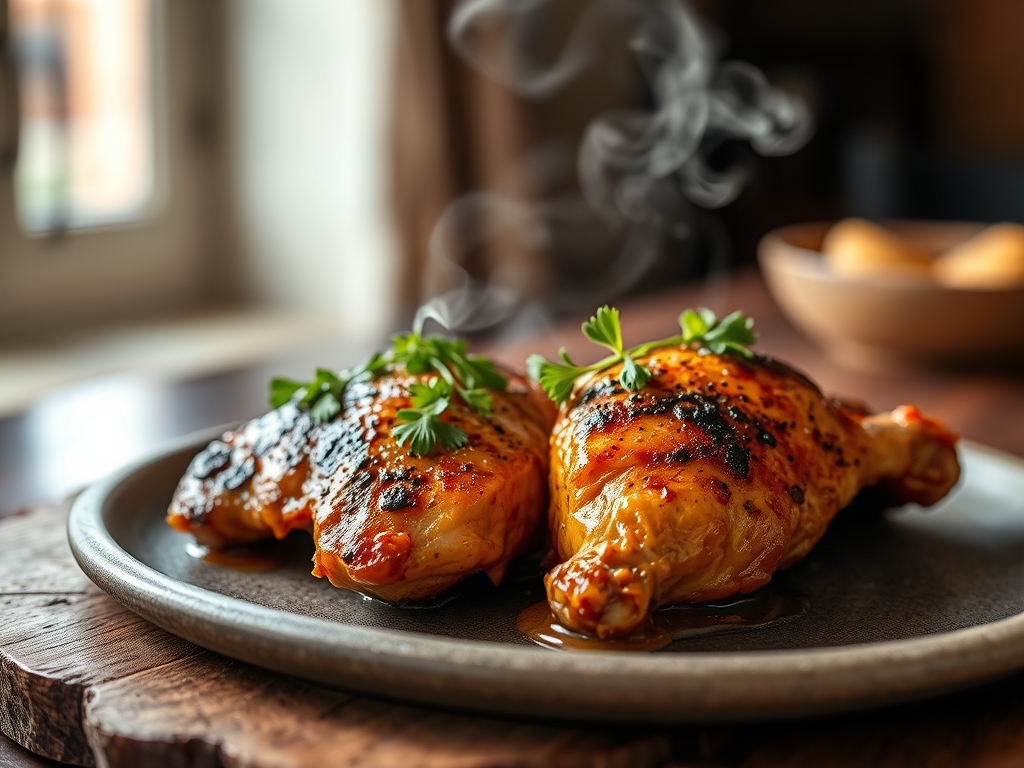
Listen closely because your kitchen is about to smell like a five-star bistro. Picture the sound of cold poultry hitting a searing hot cast iron surface; that sharp, rhythmic sizzle is the sound of amino acids and reducing sugars beginning their transformative dance. When you master chicken recipes two things happen simultaneously: you gain the confidence to host any dinner party and you finally understand the thermal mechanics of protein. We are moving past the days of rubbery, uninspired breasts and moving into a realm where every bite is succulent, seasoned to the bone, and structurally perfect. This is not just about following a list of instructions; it is about manipulating heat and moisture to achieve a result that defies the typical home cook experience. Whether you are looking for a quick weeknight win or a slow-simmered masterpiece, the foundational science remains the same. Grab your apron and your favorite heavy-bottomed skillet. We are going to deconstruct the bird and rebuild your repertoire with technical precision and a little bit of culinary soul.
The Gathers:
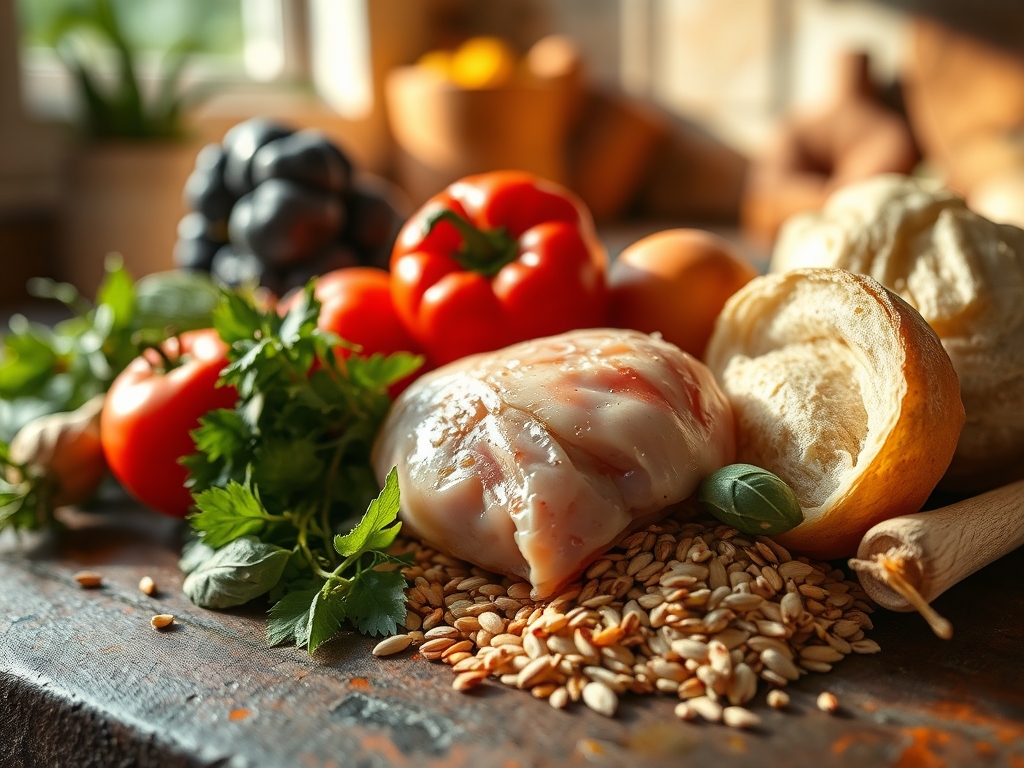
To achieve professional results, your mise-en-place must be impeccable. Start with high-quality poultry; look for air-chilled birds which have not been bloated with a saline solution, ensuring a better sear. You will need a high-smoke-point lipid like avocado oil or clarified butter to facilitate the Maillard reaction without acrid burning. Gather your aromatics: fresh thyme sprigs, smashed garlic cloves, and piquant shallots. For the liquid component, keep a viscous, low-sodium chicken bone broth and a dry white wine like Sauvignon Blanc nearby for deglazing. Essential tools include a digital scale for precise seasoning and a microplane for integrating citrus zest and hard cheeses.
Smart Substitutions:
If you find yourself without shallots, use the white parts of green onions for a similar sulfurous profile. If you are avoiding alcohol, a splash of verjus or a teaspoon of apple cider vinegar diluted in water provides the necessary acidity to balance the fats. For those seeking a deeper umami profile, a teaspoon of white miso paste whisked into your broth adds a fermented complexity that mimics long-simmered stocks.
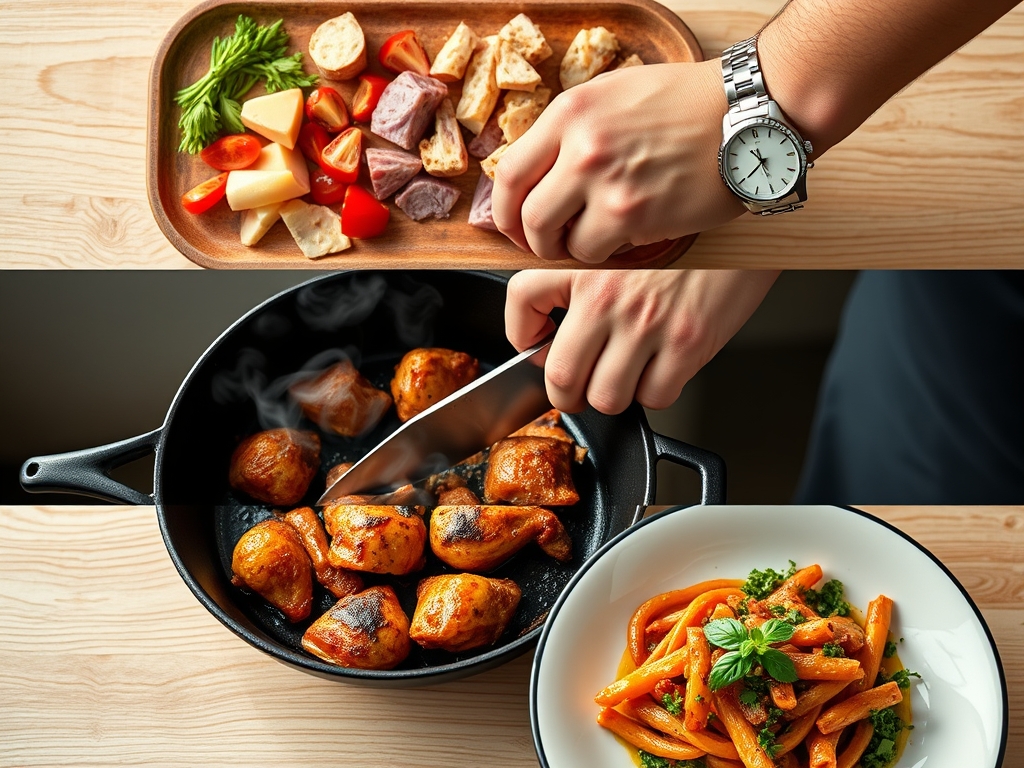
The Clock
Efficiency in the kitchen is governed by what professionals call the Chef's Flow. Total preparation time for these techniques typically clocks in at 15 minutes, while active cooking spans 20 to 25 minutes. However, the secret is the "dead time" where the meat rests. You must account for a 10-minute rest period post-heat to allow for capillary action to redistribute juices. If you cut too soon, the internal pressure will force the moisture out, leaving you with dry fibers. Plan your sides to finish exactly when the chicken enters its resting phase to ensure every component of the meal reaches the table at its thermal peak.
The Masterclass
1. The Tempering Phase
Remove your chicken from the refrigerator at least 20 minutes before cooking. Bringing the protein closer to room temperature ensures that the exterior does not overcook while the center remains dangerously underdone. Use a paper towel to pat the surface bone-dry; moisture is the enemy of a crisp crust.
Pro Tip: This prevents a thermal shock to the pan. When cold meat hits a hot surface, the pan temperature drops instantly, leading to steaming rather than searing.
2. Precision Seasoning
Use a digital scale to measure your salt if you are new to the game, aiming for about 1.5 percent of the meat's weight. Elevate your hand high above the protein to ensure an even distribution of crystals, avoiding salt clumps that ruin the palate balance.
Pro Tip: Salt acts as a denaturant, unwinding protein strands so they can trap more water. Seasoning early allows the salt to penetrate deep into the muscle tissue via osmosis.
3. The Sear and Render
Heat your heavy-bottomed skillet until the oil shimmers and barely wisps smoke. Place the chicken skin-side down (if applicable) and do not move it. Use tongs to gently press the meat against the metal to ensure maximum surface contact.
Pro Tip: This stage triggers enzymatic browning. The proteins and sugars fuse to create hundreds of different flavor compounds that simply do not exist in boiled or steamed poultry.
4. The Aromatic Infusion
Once you flip the chicken, toss in your butter, smashed garlic, and thyme. As the butter foams, use a large spoon to continuously douse the chicken in the flavored fat. This technique, known as arrosage, adds depth and ensures the top stays moist.
Pro Tip: Butter contains milk solids that caramelize at high heat, adding a nutty, toasted dimension to the meat's exterior profile.
5. Deglazing the Fond
After removing the chicken, you will see brown bits stuck to the pan. This is "fond," and it is culinary gold. Pour in your wine or broth and use a wooden spoon or bench scraper to lift these bits into the liquid.
Pro Tip: The acidity in the wine dissolves the protein bonds holding the fond to the pan, creating a highly concentrated base for your sauce.
6. Emulsifying the Saucier
Reduce your liquid by half, then whisk in a cold knob of butter or a splash of heavy cream. Move the pan in a circular motion to create a stable emulsion that coats the back of a spoon.
Pro Tip: Cold butter added to a hot reduction creates a viscous shine. The milk fats encapsulate the water molecules, preventing the sauce from breaking or becoming greasy.
7. The Internal Temp Check
Never guess. Insert a digital probe thermometer into the thickest part of the meat. You are looking for 160 degrees Fahrenheit, knowing it will rise to the safe 165 mark while resting.
Pro Tip: This accounts for thermal carryover. Residual heat continues to cook the center even after the chicken is removed from the pan.
8. The Resting Ritual
Transfer the chicken to a warm plate and tent it loosely with foil. This is the hardest part for hungry cooks, but it is the most vital for texture.
Pro Tip: Resting allows the muscle fibers, which tightened under heat, to relax and reabsorb the internal juices, ensuring a succulent mouthfeel.
9. The Final Acid Hit
Just before serving, use your microplane to shave fresh lemon zest over the dish or add a squeeze of fresh juice. This cuts through the richness of the butter and brightens the entire flavor profile.
Pro Tip: Acidity acts as a flavor reinforcer, much like salt, by stimulating the salivary glands and making the savory notes "pop" on the tongue.
The Deep Dive
Macro Nutrition:
Chicken is a lean protein powerhouse. A standard 6-ounce serving provides roughly 52 grams of protein with minimal saturated fat, depending on the cut. By using high-quality fats like avocado oil and controlling the butter in your sauce, you maintain a nutrient-dense profile that supports muscle synthesis and metabolic health.
Dietary Swaps:
For a Keto version, swap the flour dusting for almond flour or omit it entirely; the sauce emulsion provides plenty of body. Vegan friends can follow these exact flavor-building steps using oyster mushrooms or extra-firm pressed tofu. To keep it Gluten-Free, ensure your broth is certified and use cornstarch or a cold butter whisk-in for thickening instead of a roux.
The Fix-It:
- Tough Meat: Usually caused by overcooking or skipping the rest. Use a thermometer next time and rest for a full 10 minutes.
- Soggy Skin: The pan wasn't hot enough or you crowded the skillet. Cook in batches to maintain high heat.
- Broken Sauce: If your sauce looks oily, whisk in a teaspoon of warm water or broth vigorously to re-emulsify the fats.
Meal Prep Science:
To reheat without that "leftover" taste, avoid the microwave. Reheat gently in a covered skillet with a tablespoon of water or broth. This creates a steam chamber that restores moisture to the fibers without over-denaturing the proteins.
The Wrap-Up
You are now armed with the technical prowess to turn a humble bird into a masterpiece. By understanding the physics of heat transfer and the chemistry of flavor development, you have moved from a recipe-follower to a true cook. Remember that the kitchen is your laboratory; don't be afraid to experiment with different aromatics or acids once you have the foundational mechanics down. Now, go grab your tongs and show that skillet who is boss!
The Kitchen Table
How do I get the skin extra crispy?
Ensure the skin is bone-dry by leaving it uncovered in the fridge for two hours before cooking. Use a heavy skillet to maintain consistent, high heat and avoid moving the meat until it naturally releases from the pan surface.
Can I use chicken breasts instead of thighs?
Yes, but breasts cook faster and dry out easily. Use a meat thermometer to pull them at exactly 160 degrees Fahrenheit. Thighs are more forgiving due to higher fat content and connective tissue that breaks down into gelatin.
What is the best way to store leftovers?
Store in an airtight glass container for up to four days. To preserve texture, slice the chicken before storing so it reheats evenly and quickly, preventing the exterior from becoming rubbery while the center stays cold.
Why does my garlic always burn in the pan?
Garlic has a high sugar content and low water mass. Add it during the last three minutes of cooking or during the butter-basting phase. This infuses the oil without the bitter flavor of scorched cloves.