
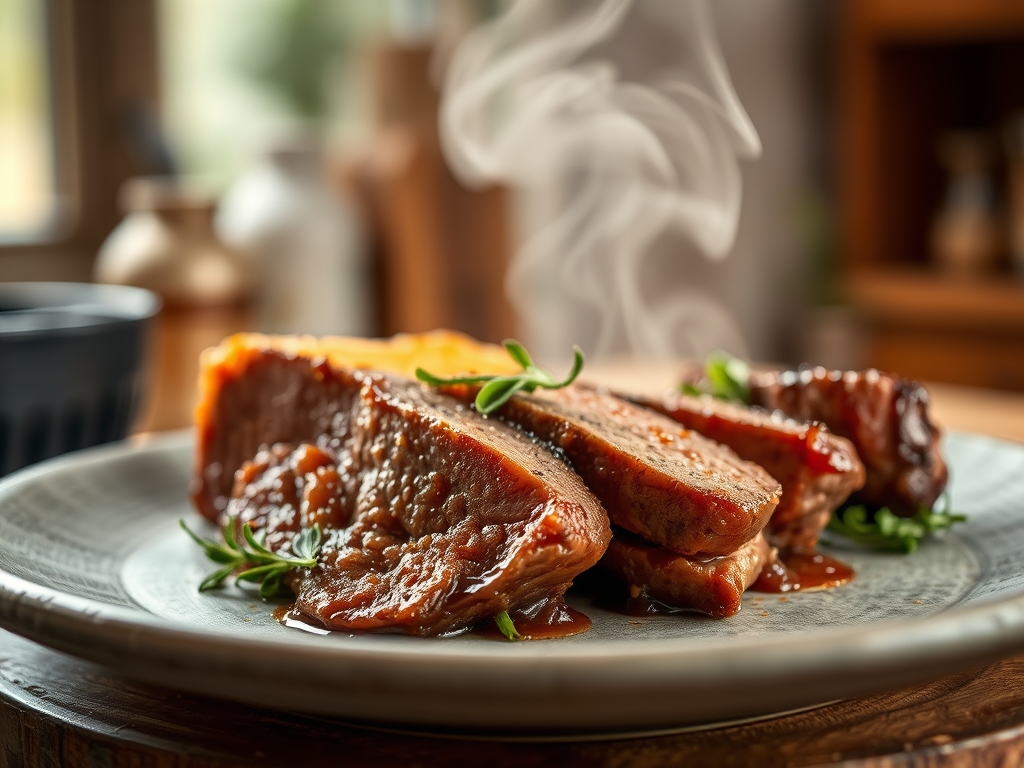
Imagine a kitchen filled with the scent of rosemary and rendered fat; a aroma so thick you can almost taste it. We are chasing that elusive, center-of-the-table masterpiece: a crust so dark it crackles, giving way to a center that is blush-pink from edge to edge. To master perfect roast beef recipes, you must treat the oven like a laboratory and the meat like a delicate thermal project.
Whether you are hosting a holiday gala or a Sunday reset, the goal is the same. We want a roast that is succulent, not sandy; savory, not salty. Achieving this requires more than just luck. It demands an understanding of how proteins uncoil and how moisture migrates under heat. Grab your apron and your favorite heavy-bottomed skillet. We are about to turn a simple cut of beef into a culinary event that your friends will talk about for months.

The Gathers:
To begin, we must assemble our mise-en-place with the precision of a chemist. Start with a high-quality cut like a Top Sirloin Roast or a Center-Cut Eye of Round. You will need a digital scale to measure your salt precisely; 1.5 percent of the meat's weight is the golden ratio for deep seasoning.
Next, gather your aromatics. You will need fresh thyme, rosemary, and five cloves of garlic. Do not reach for the pre-minced jar. Use a microplane to grate the garlic into a paste, which allows the sulfurous compounds to infuse the oil more effectively. For the fat, choose a high-smoke-point oil like avocado oil or clarified butter. Avoid extra virgin olive oil here, as its low smoke point will create bitter, acrid flavors during the high-heat sear.
Smart Substitutions: If you are avoiding nightshades, swap the traditional black pepper for crushed white peppercorns or a hint of ground mustard for that piquant bite. If you lack fresh herbs, a concentrated herb paste is superior to dried flakes, which often taste like hay when scorched.
The Clock
The "Chef's Flow" is all about managing transitions. Total active prep time is approximately 20 minutes, but the passive time is where the magic happens. You must allow for a tempering period of 60 minutes before the meat hits the heat. Cooking time varies by weight, but generally, plan for 20 minutes per pound at a low temperature, followed by a mandatory 30-minute rest.
The secret to a stress-free kitchen is working backward from your serving time. If you want to eat at 7:00 PM, your roast should be out of the oven by 6:15 PM. This buffer accounts for thermal carryover and gives you time to deglaze the pan for a silk-smooth jus.
The Masterclass
1. The Dry Brine
Generously coat your beef in kosher salt at least four hours before cooking; ideally, do this overnight. Place it on a wire rack over a sheet tray to allow air to circulate around the entire surface.
Pro Tip: This process uses osmosis to draw moisture out, dissolve the salt, and then pull that seasoned brine back into the muscle fibers. This denatures the proteins, ensuring the meat stays juicy even at higher temperatures.
2. Tempering the Protein
Remove the beef from the refrigerator one hour before you plan to sear. Use a paper towel to pat the surface until it is bone-dry.
Pro Tip: A cold roast causes the muscle fibers to shock and contract violently when hitting a hot pan. Tempering reduces the temperature gradient, preventing a "grey ring" of overcooked meat beneath the crust.
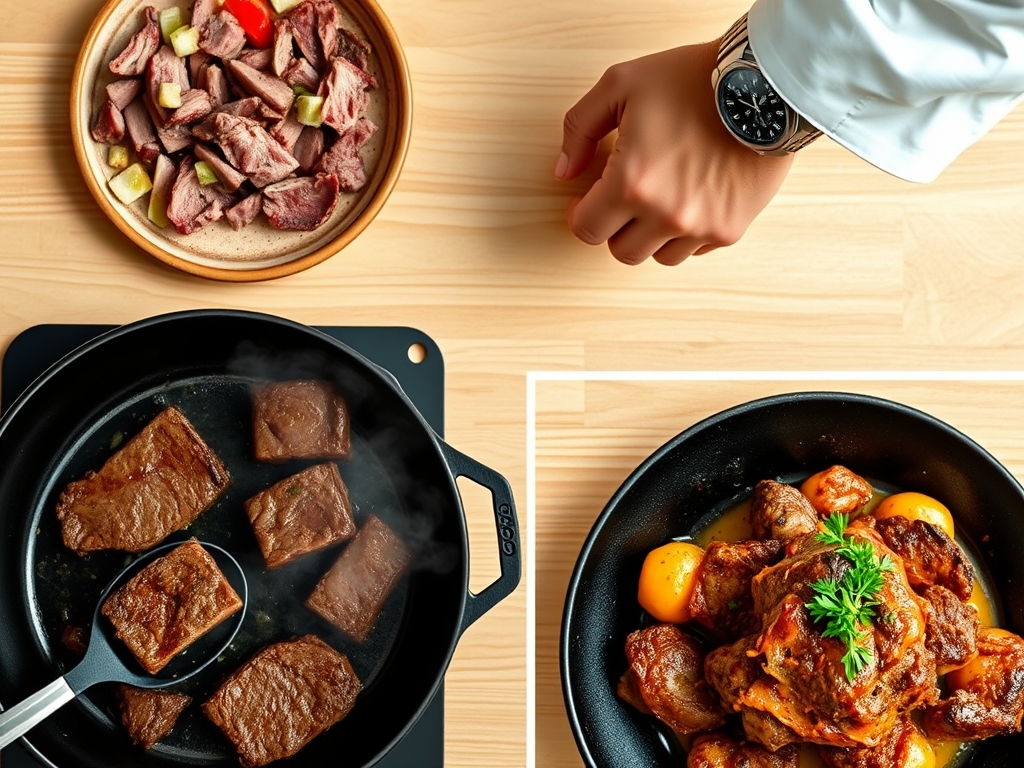
3. The Maillard Sear
Heat your heavy-bottomed skillet until the oil shimmers. Use tongs to press the beef into the pan, searing every side until a deep, mahogany crust forms.
Pro Tip: This is the Maillard Reaction, a chemical dance between amino acids and reducing sugars. It creates hundreds of different flavor compounds that cannot be achieved through roasting alone.
4. Low and Slow Roasting
Transfer the beef to a roasting pan equipped with a rack. Insert a probe thermometer into the thickest part of the meat. Set your oven to 250 degrees Fahrenheit.
Pro Tip: High heat causes the exterior to shrink and squeeze out juices before the center is even warm. Low-temperature roasting allows for enzymatic tenderization to continue for a longer period during the cook.
5. The Butter Baste
When the internal temperature hits 115 degrees, add a knob of butter, smashed garlic, and thyme to a small saucier. Melt it until foamy and pour it over the roast.
Pro Tip: Fat is a flavor carrier. By basting at the end, you create a viscous coating that traps volatile aromatic compounds on the surface of the meat.
6. The Carryover Pull
Remove the roast from the oven when the thermometer reads 125 degrees for medium-rare. Do not wait until it hits 135 degrees.
Pro Tip: Thermal carryover is a real physical phenomenon. The residual heat on the surface continues to travel inward, raising the core temperature by another 5 to 10 degrees while the meat sits on the counter.
7. The Mandatory Rest
Place the roast on a warm cutting board and tent it loosely with foil. Wait at least 20 to 30 minutes before reaching for your carving knife.
Pro Tip: During cooking, muscle fibers tighten and push juice toward the center. Resting allows those fibers to relax and reabsorb the liquid. If you cut too soon, the juice will end up on the board instead of in your mouth.
8. The Precision Slice
Use a long, serrated slicer or a very sharp carving knife. Always cut against the grain, which means perpendicular to the visible muscle fibers.
Pro Tip: Cutting against the grain shortens the fibers, making the meat significantly easier to chew. It is the final mechanical step in ensuring a tender "mouthfeel."
The Deep Dive
Macro Nutrition: A standard 4-ounce serving of lean roast beef provides roughly 28 grams of high-quality protein and 10 grams of fat. It is an excellent source of bioavailable iron and Vitamin B12, making it a powerhouse for metabolic health.
Dietary Swaps: For a Keto version, serve with a decadent marrow butter. For a Vegan alternative, use the same seasoning profile on a slow-roasted "steak" of lion's mane mushroom. To keep it Gluten-Free, ensure your au jus is thickened with a cornstarch slurry or a reduction rather than a flour-based roux.
The Fix-It:
- The Meat is Tough: You likely skipped the rest or cut with the grain. Slice it thinner for the leftovers to break up those fibers.
- No Crust: The meat was likely damp when it hit the pan. Next time, use a bench scraper to clear the board of any moisture before searing.
- Uneven Cooking: This happens if the meat is an irregular shape. Use butcher's twine to tie the roast into a uniform cylinder for even heat distribution.
Meal Prep: To reheat without losing quality, slice the beef while cold. Place slices in a shallow dish with a tablespoon of beef broth, cover tightly with foil, and warm in a 300-degree oven for just 8 minutes. This gently steams the meat without re-cooking the center.
The Wrap-Up
Mastering the perfect roast beef is about respecting the science of the protein. By controlling the moisture, managing the temperature gradients, and allowing for a proper rest, you elevate a simple grocery store cut into a five-star experience. Remember: dry the surface, salt early, and never, ever rush the rest. You have the tools and the knowledge; now go forth and sear with confidence!
The Kitchen Table
How do I get a red center without it being raw?
The key is the low-and-slow method. Cooking at 250 degrees Fahrenheit ensures the heat penetrates evenly, reaching a safe internal temperature of 130 degrees without tightening the proteins into a "raw" or chewy texture.
What is the best cut for budget roast beef?
The Eye of Round is incredibly affordable. While lean, it becomes tender if you dry-brine it for 24 hours and slice it very thin against the grain. It is the ultimate "smart" grocery store hack.
Can I roast beef in a glass pan?
Avoid glass for high-heat searing, as it can shatter. For the oven phase, a metal roasting pan with a rack is superior because it allows hot air to circulate under the meat, preventing a soggy bottom.
Why is my roast beef grey instead of pink?
A grey interior usually means the oven temperature was too high. High heat shocks the meat, cooking the outside too fast. Lower your oven to 250 degrees for that perfect, edge-to-edge pink finish.
How long does leftover roast beef last?
Stored in an airtight container, roast beef stays fresh for three to four days. For the best texture, keep it in large pieces and slice it only right before you plan to eat or reheat it.